Lights Aglow
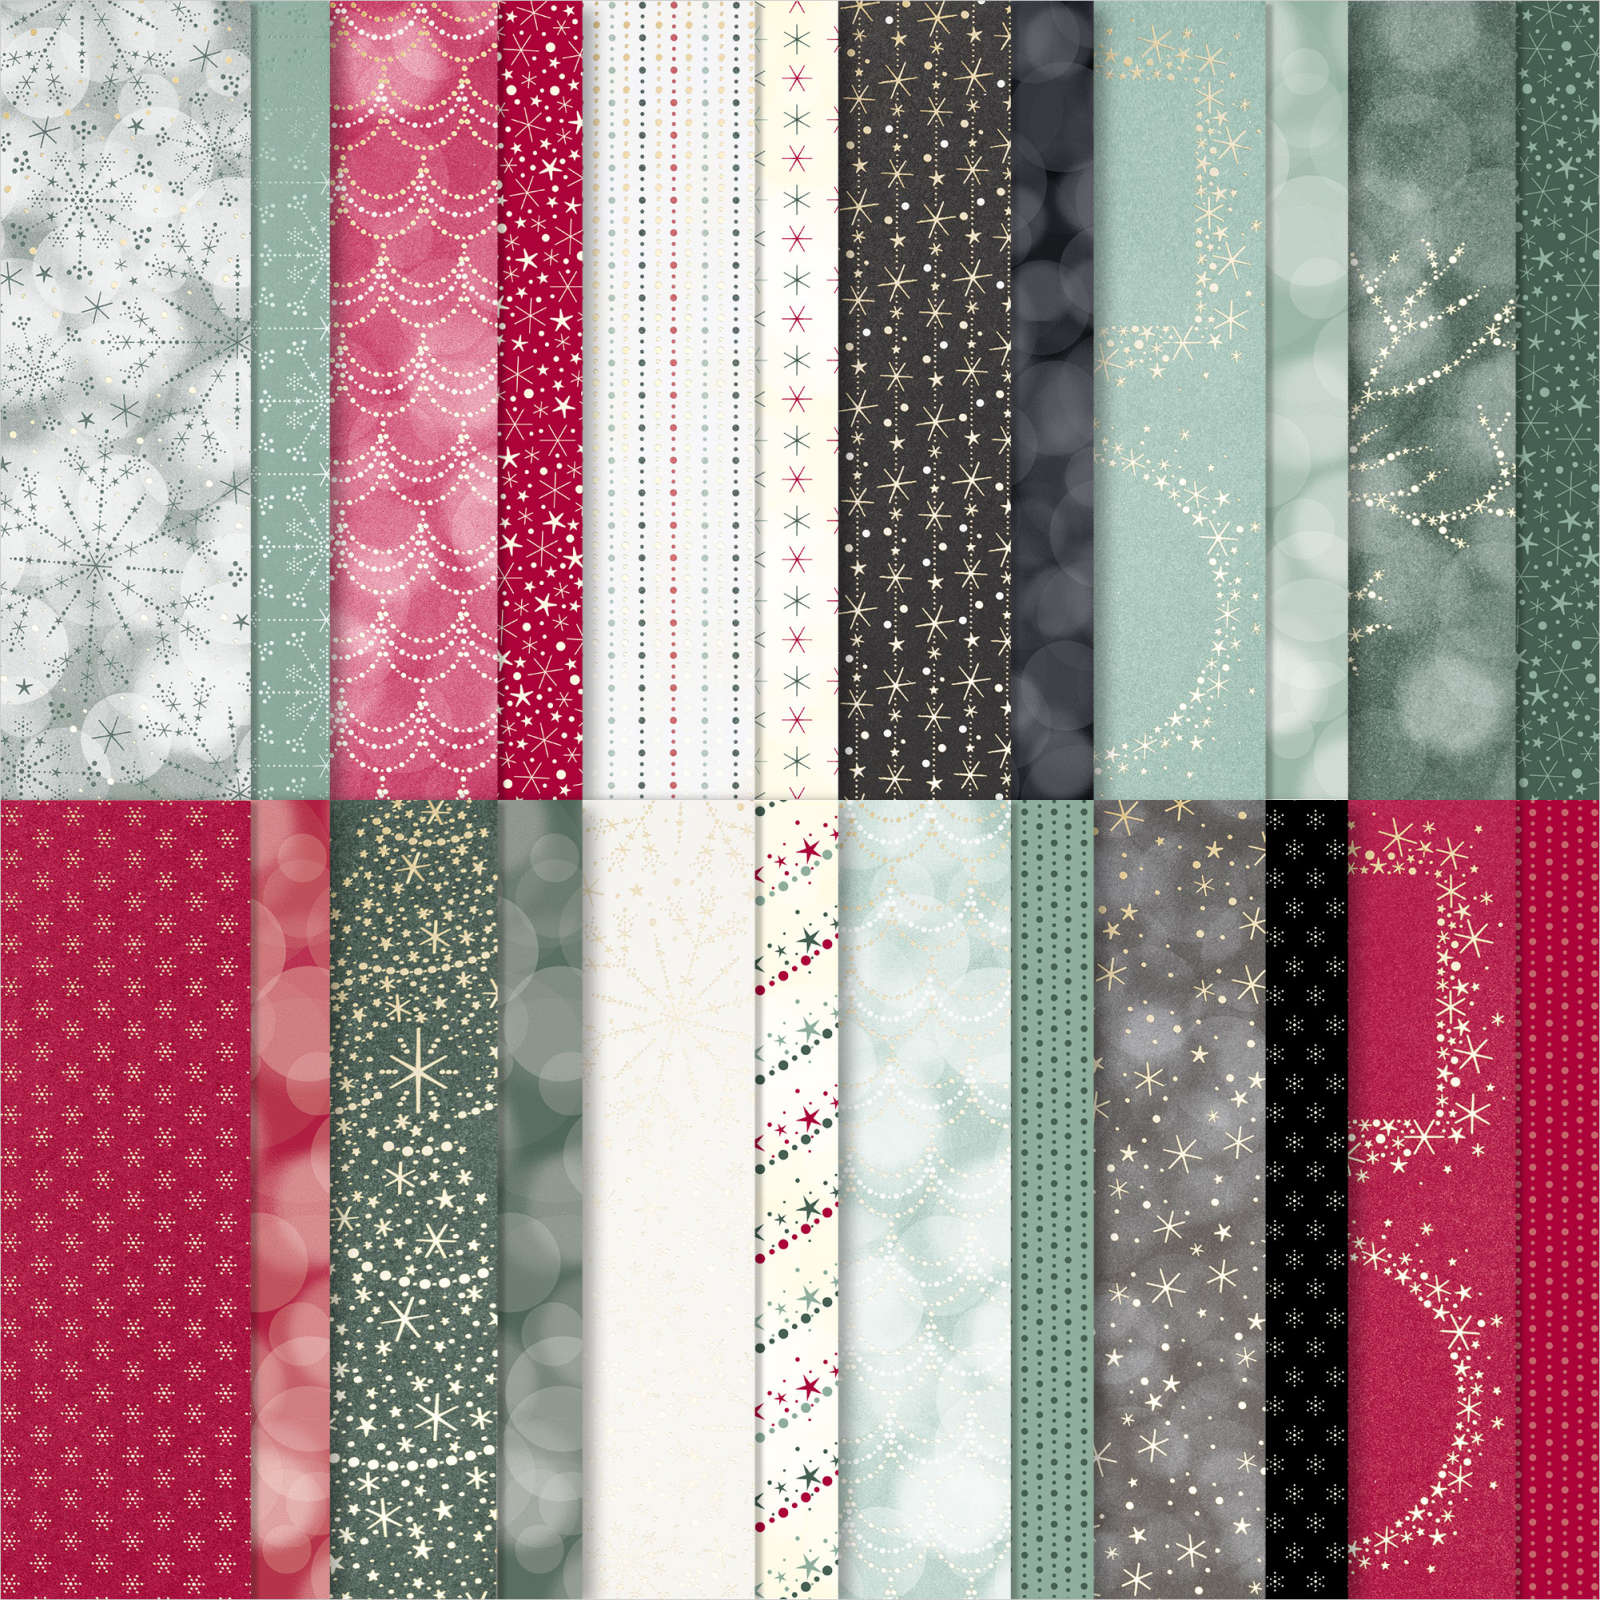
Hello and welcome to this week’s FAB Stampers post. It’s Leonie’s turn this week and she’s used the Lights Aglow Bundle and Designer Series Paper Pack.
Lights Aglow
The Lights Aglow Suite is an awesome suite. So awesome in fact that it contains two Stamp & Die Bundles in it! For my projects today I’ve just used the Lights Aglow Bundle, Lights Aglow Designer Series Paper.
These four cards come from using one of the sheets from the Lights Aglow Designer Series Paper Pack. I wanted to show you how you can make quick, easy and fun designs from this one sheet of paper.
I opted to make two from each sheet for you. You will get 4 sheets of each colour in your pack so you could make quite a few cards like these and be set for Christmas!
4×4 Cards
I love making 4×4 cards. They are quick and fun and will fit in a standard sized envelope for mailing.
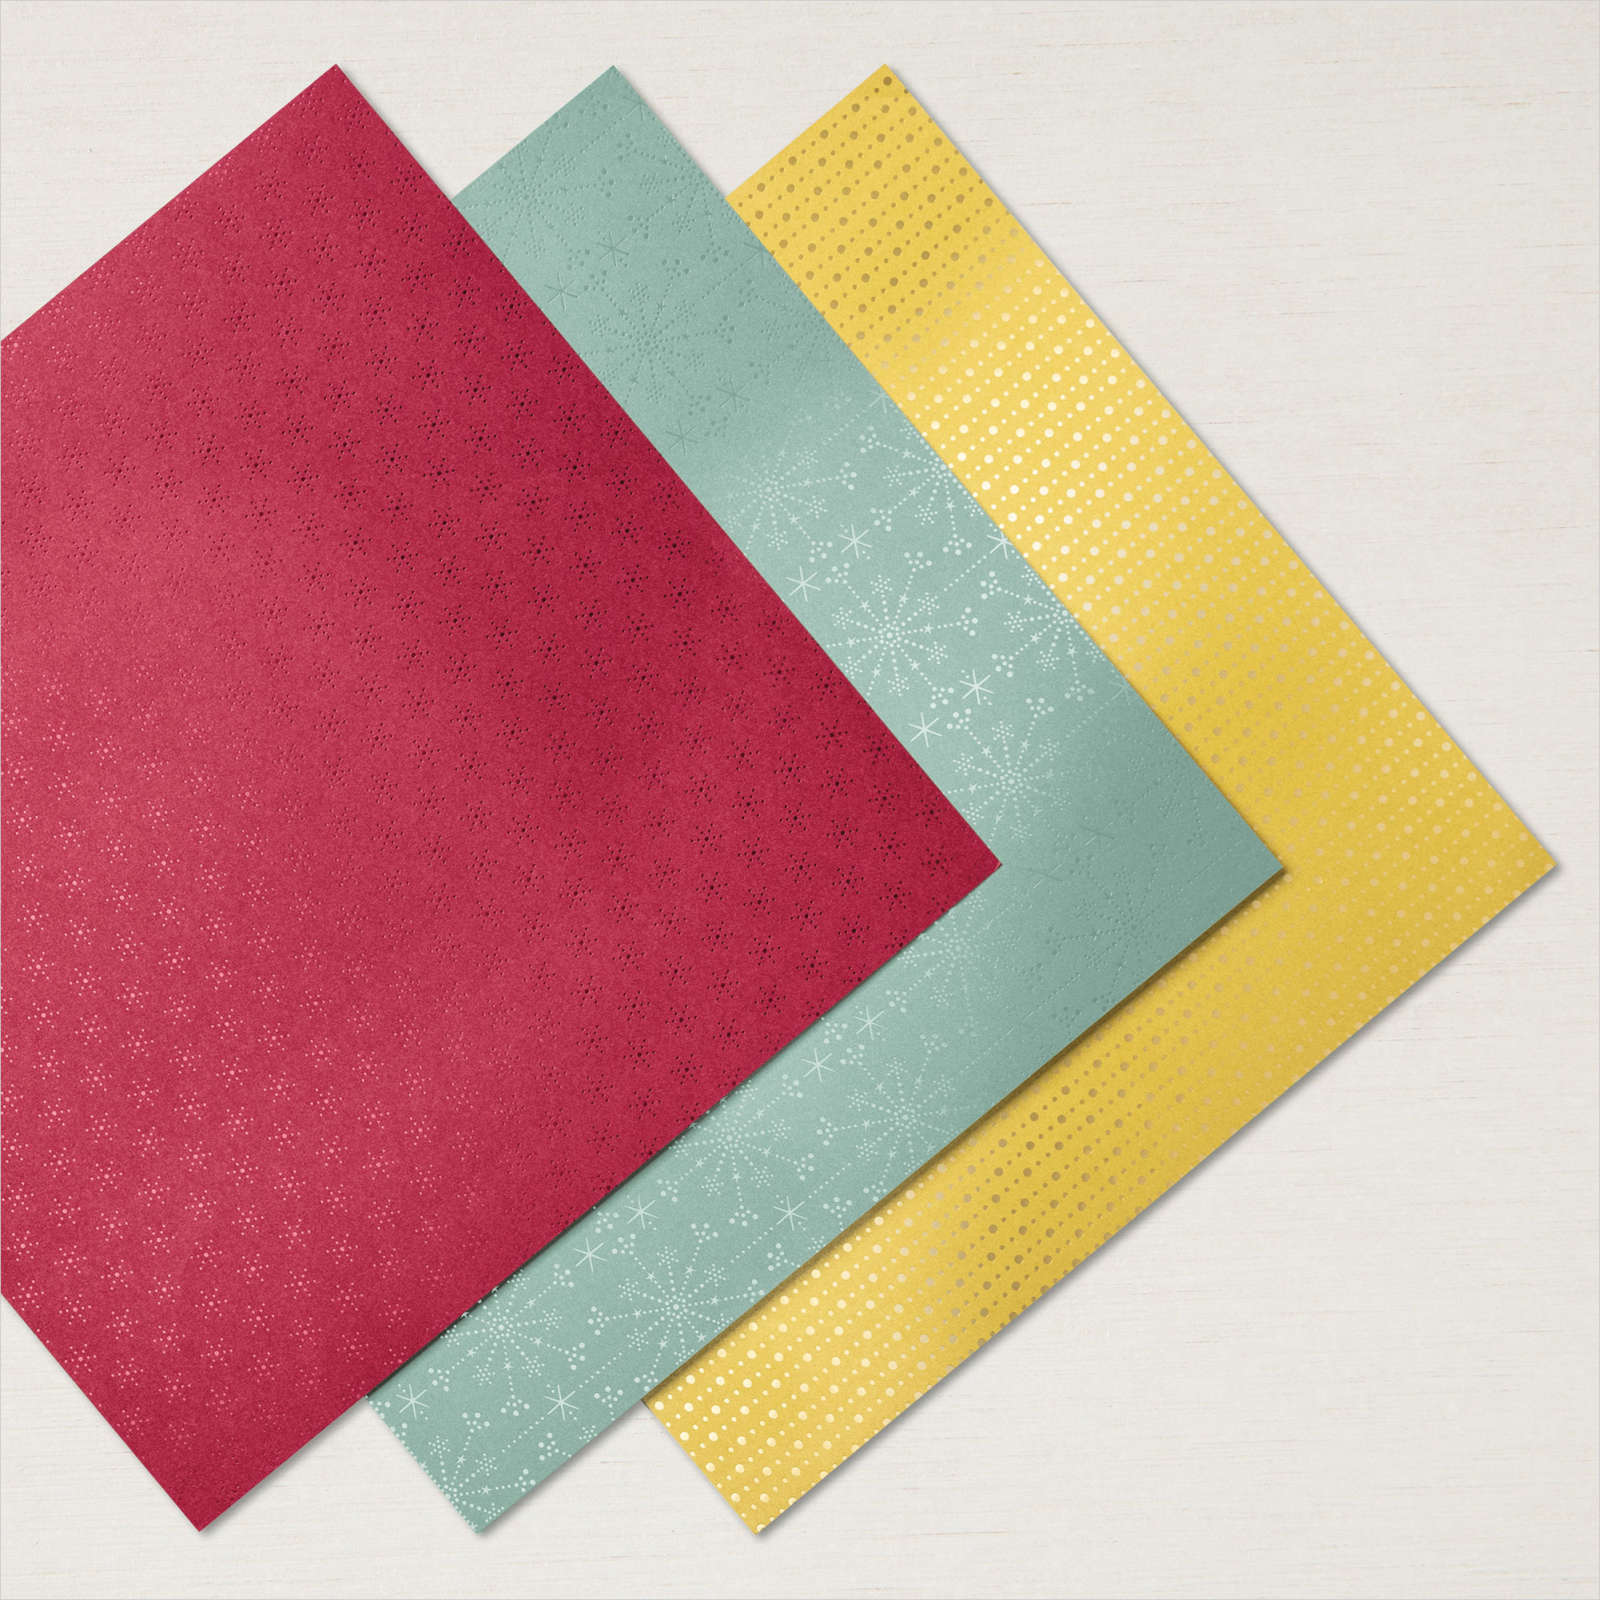
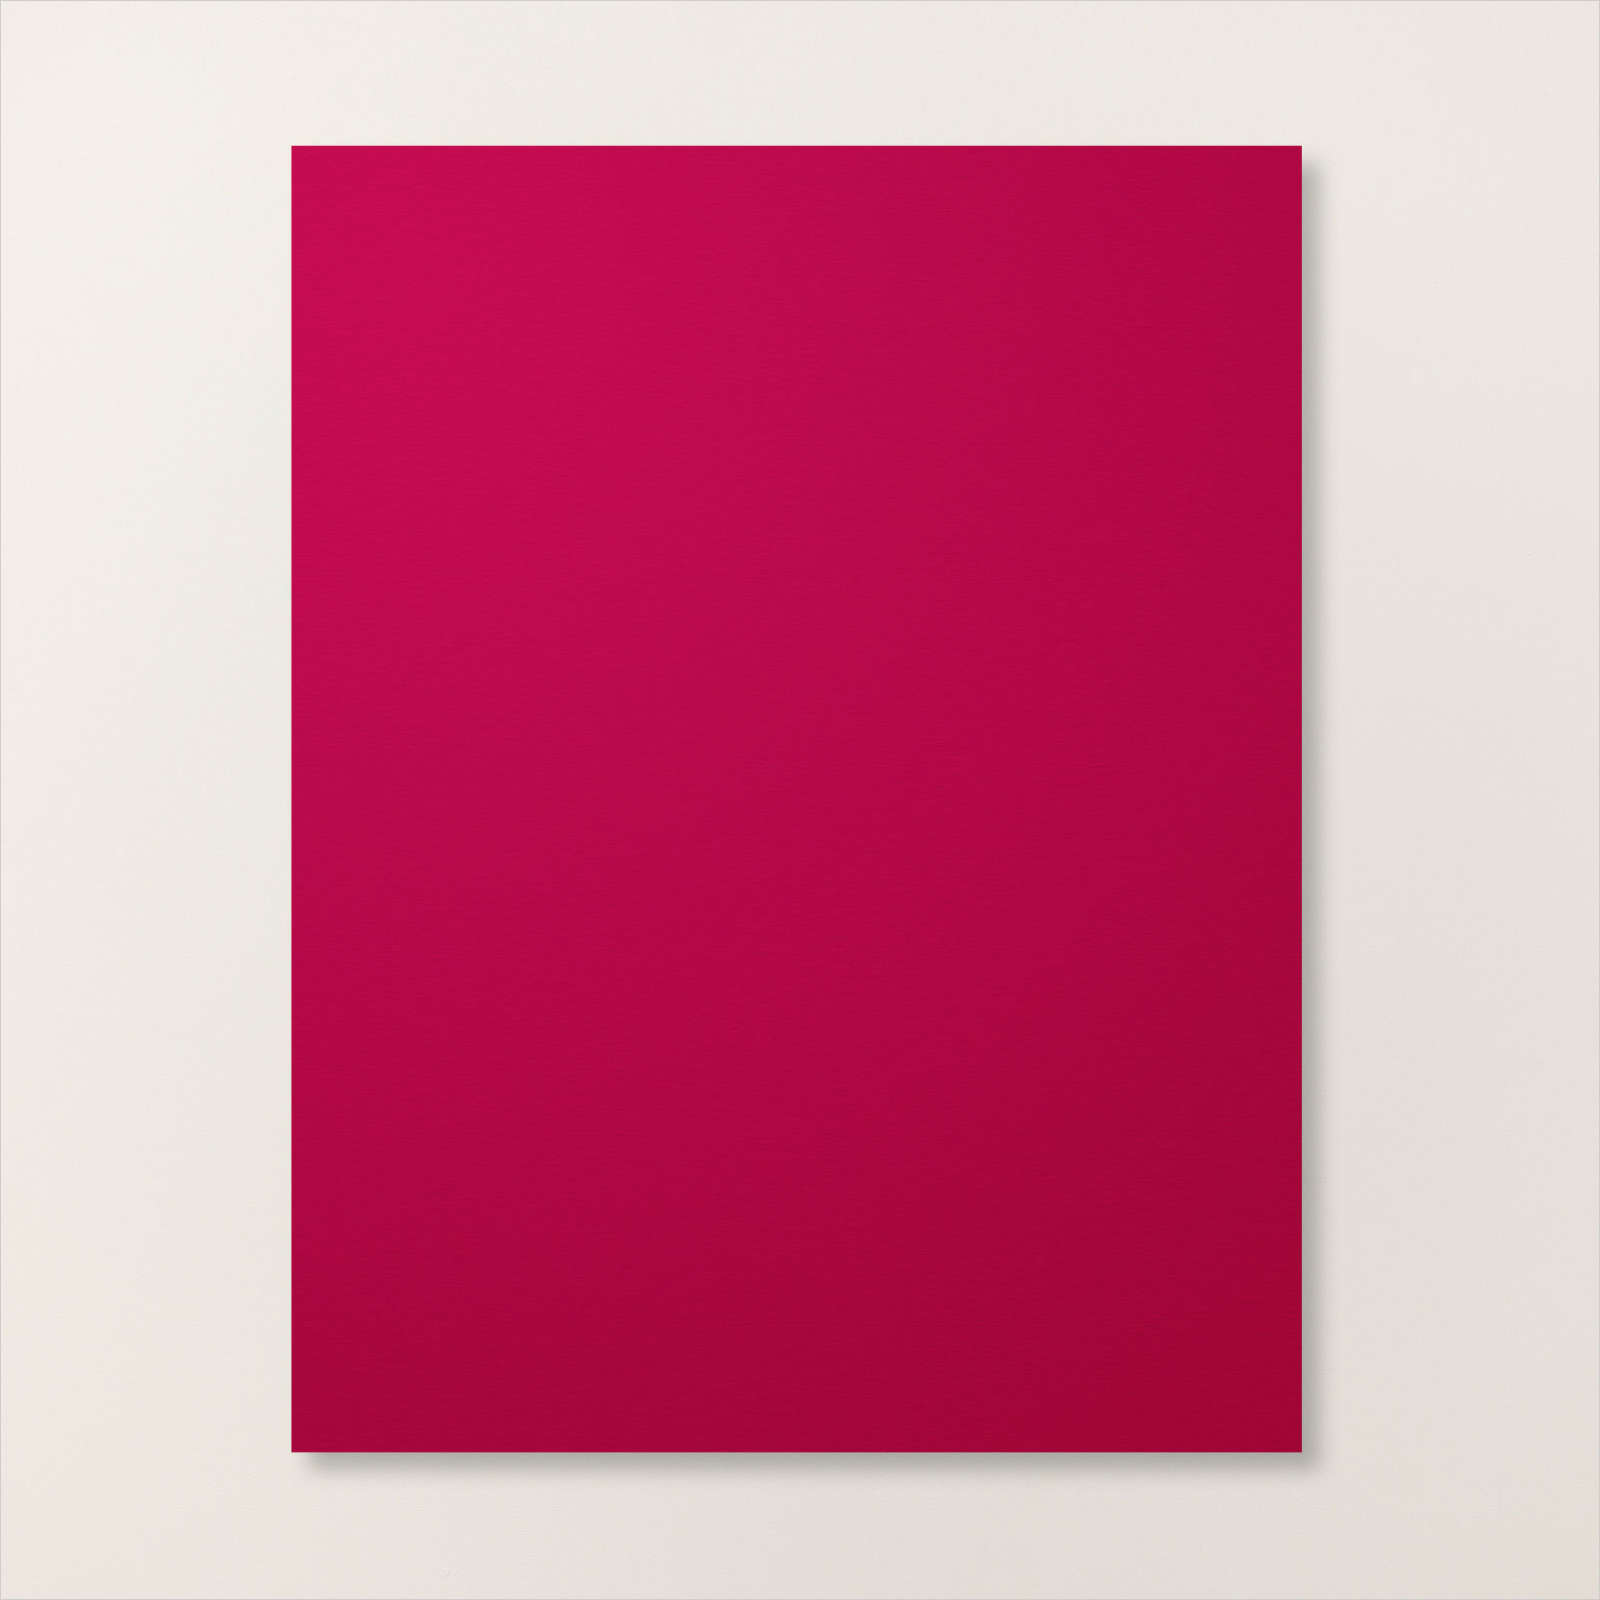
To make these cards I cut the card base 10.5cm x 21cm (4×8) then folded in half. I cut a piece of the Festive Foils in the coordinating colours slightly smaller to give a fine border. The colours used are Cherry Cobbler and Soft Succulent.
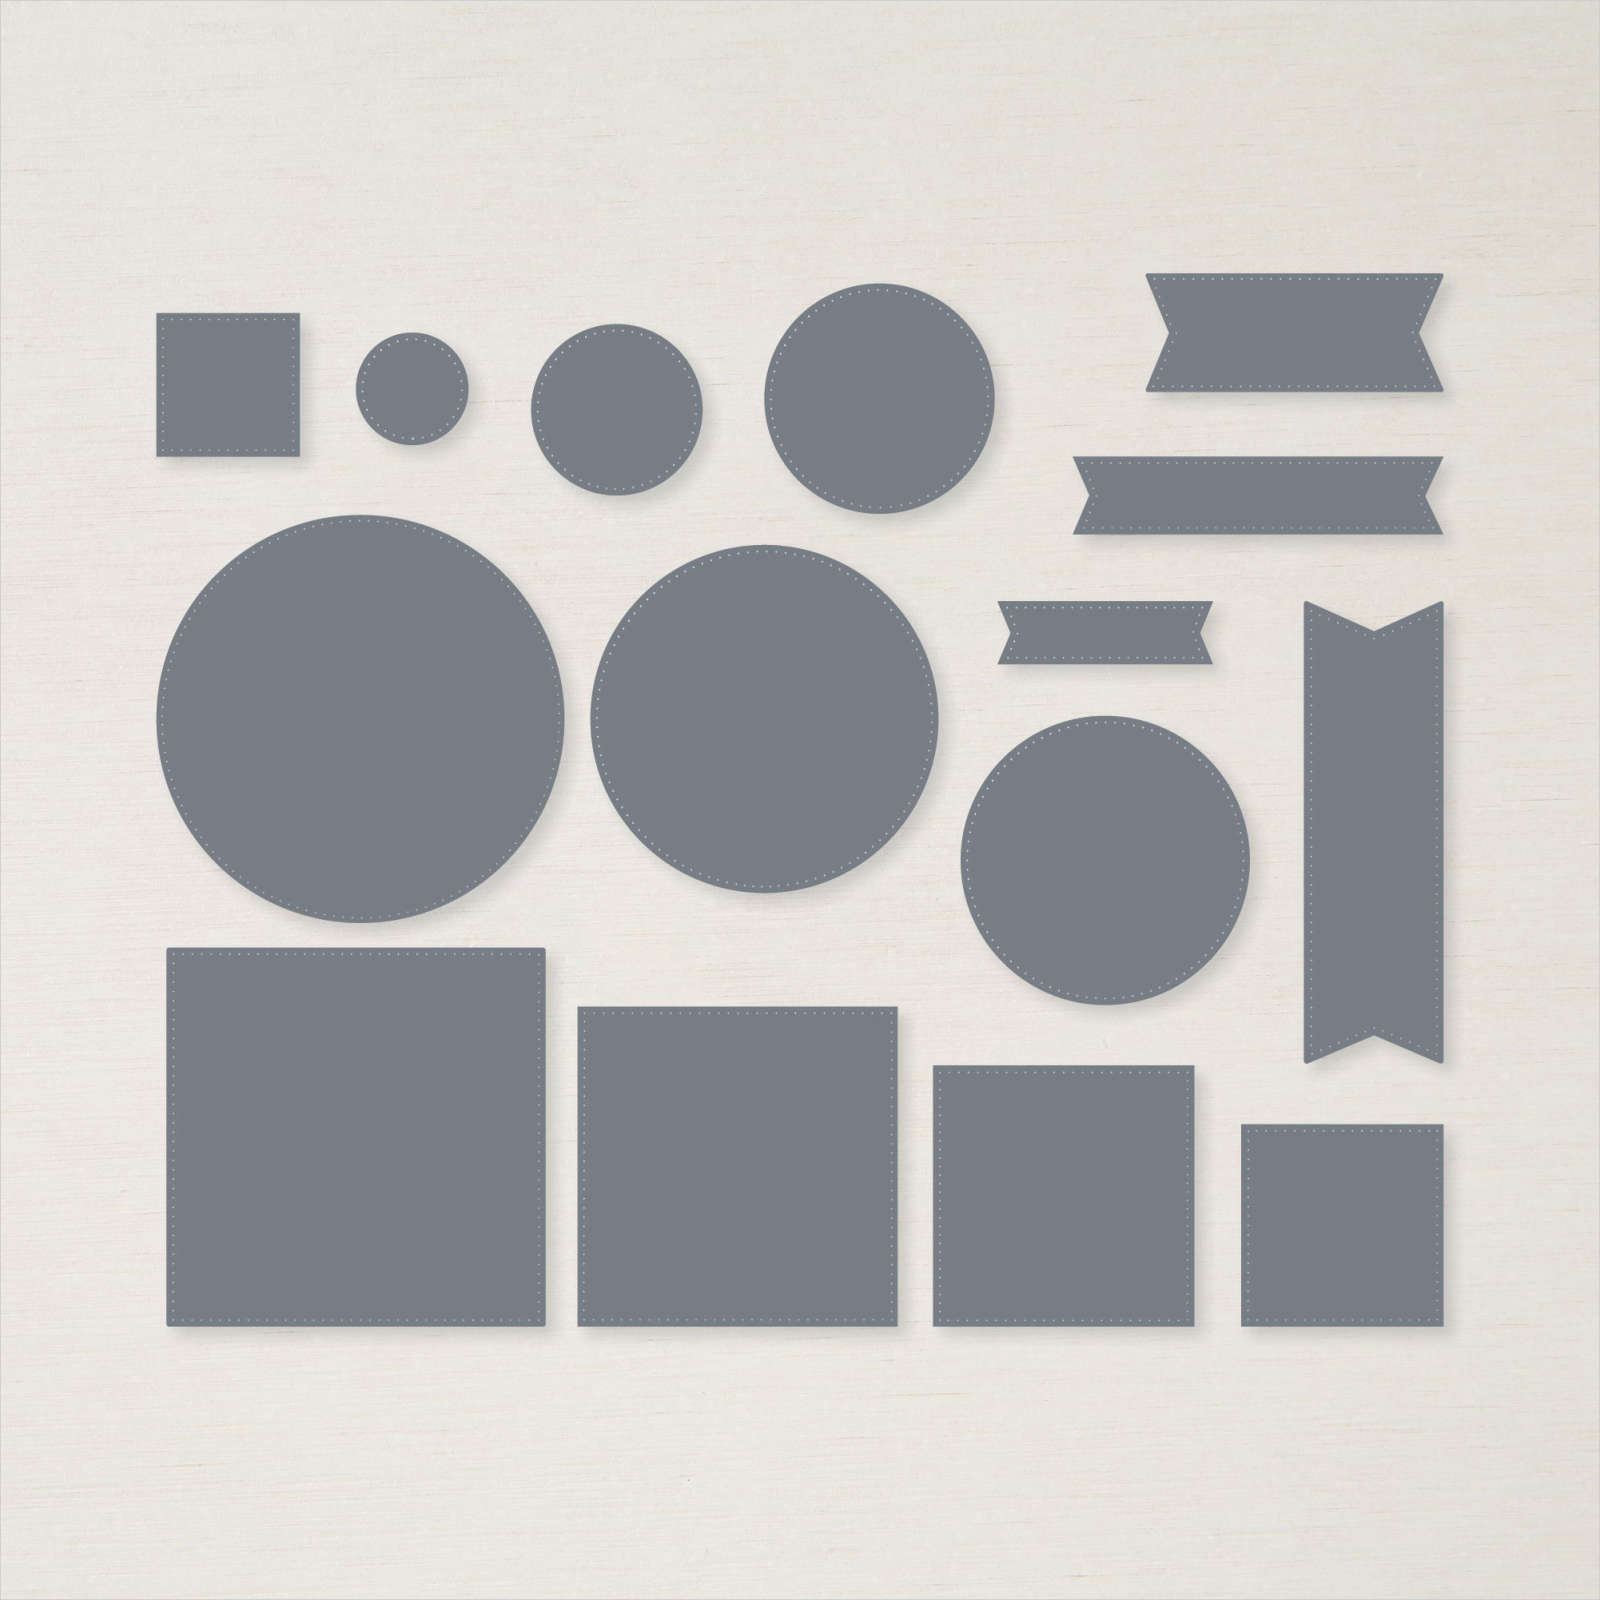
After cutting the Designer Series Paper in 4 I layered this onto a piece of Distressed Gold Foil. This was adhered to the card base with Dimensionals. The sentiments were stamped on the same colour cardstock as the base then cut with the Stylish Shapes (Square) or Labels Aglow (round) dies.
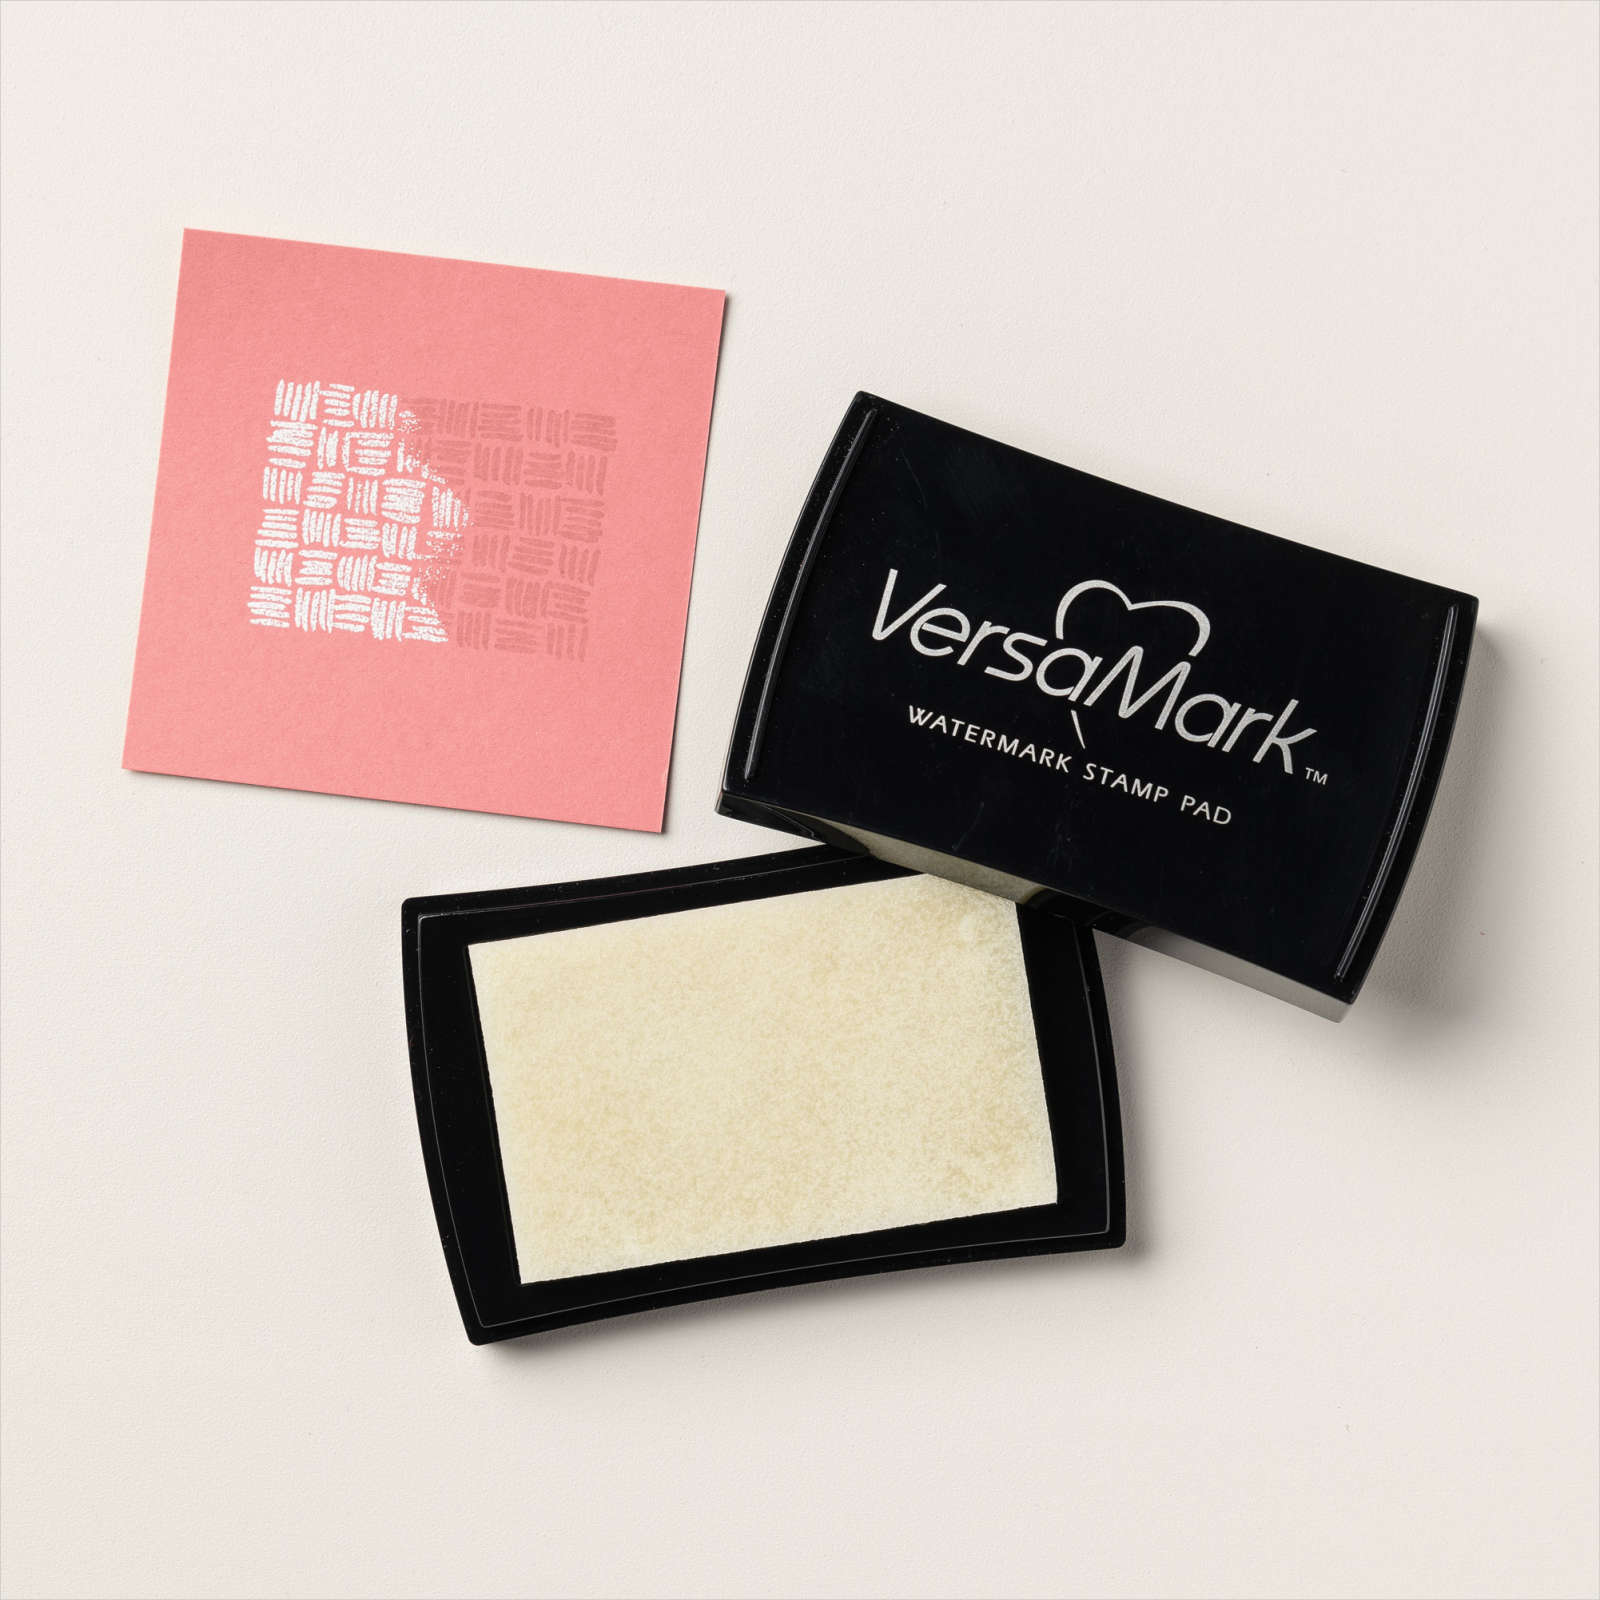
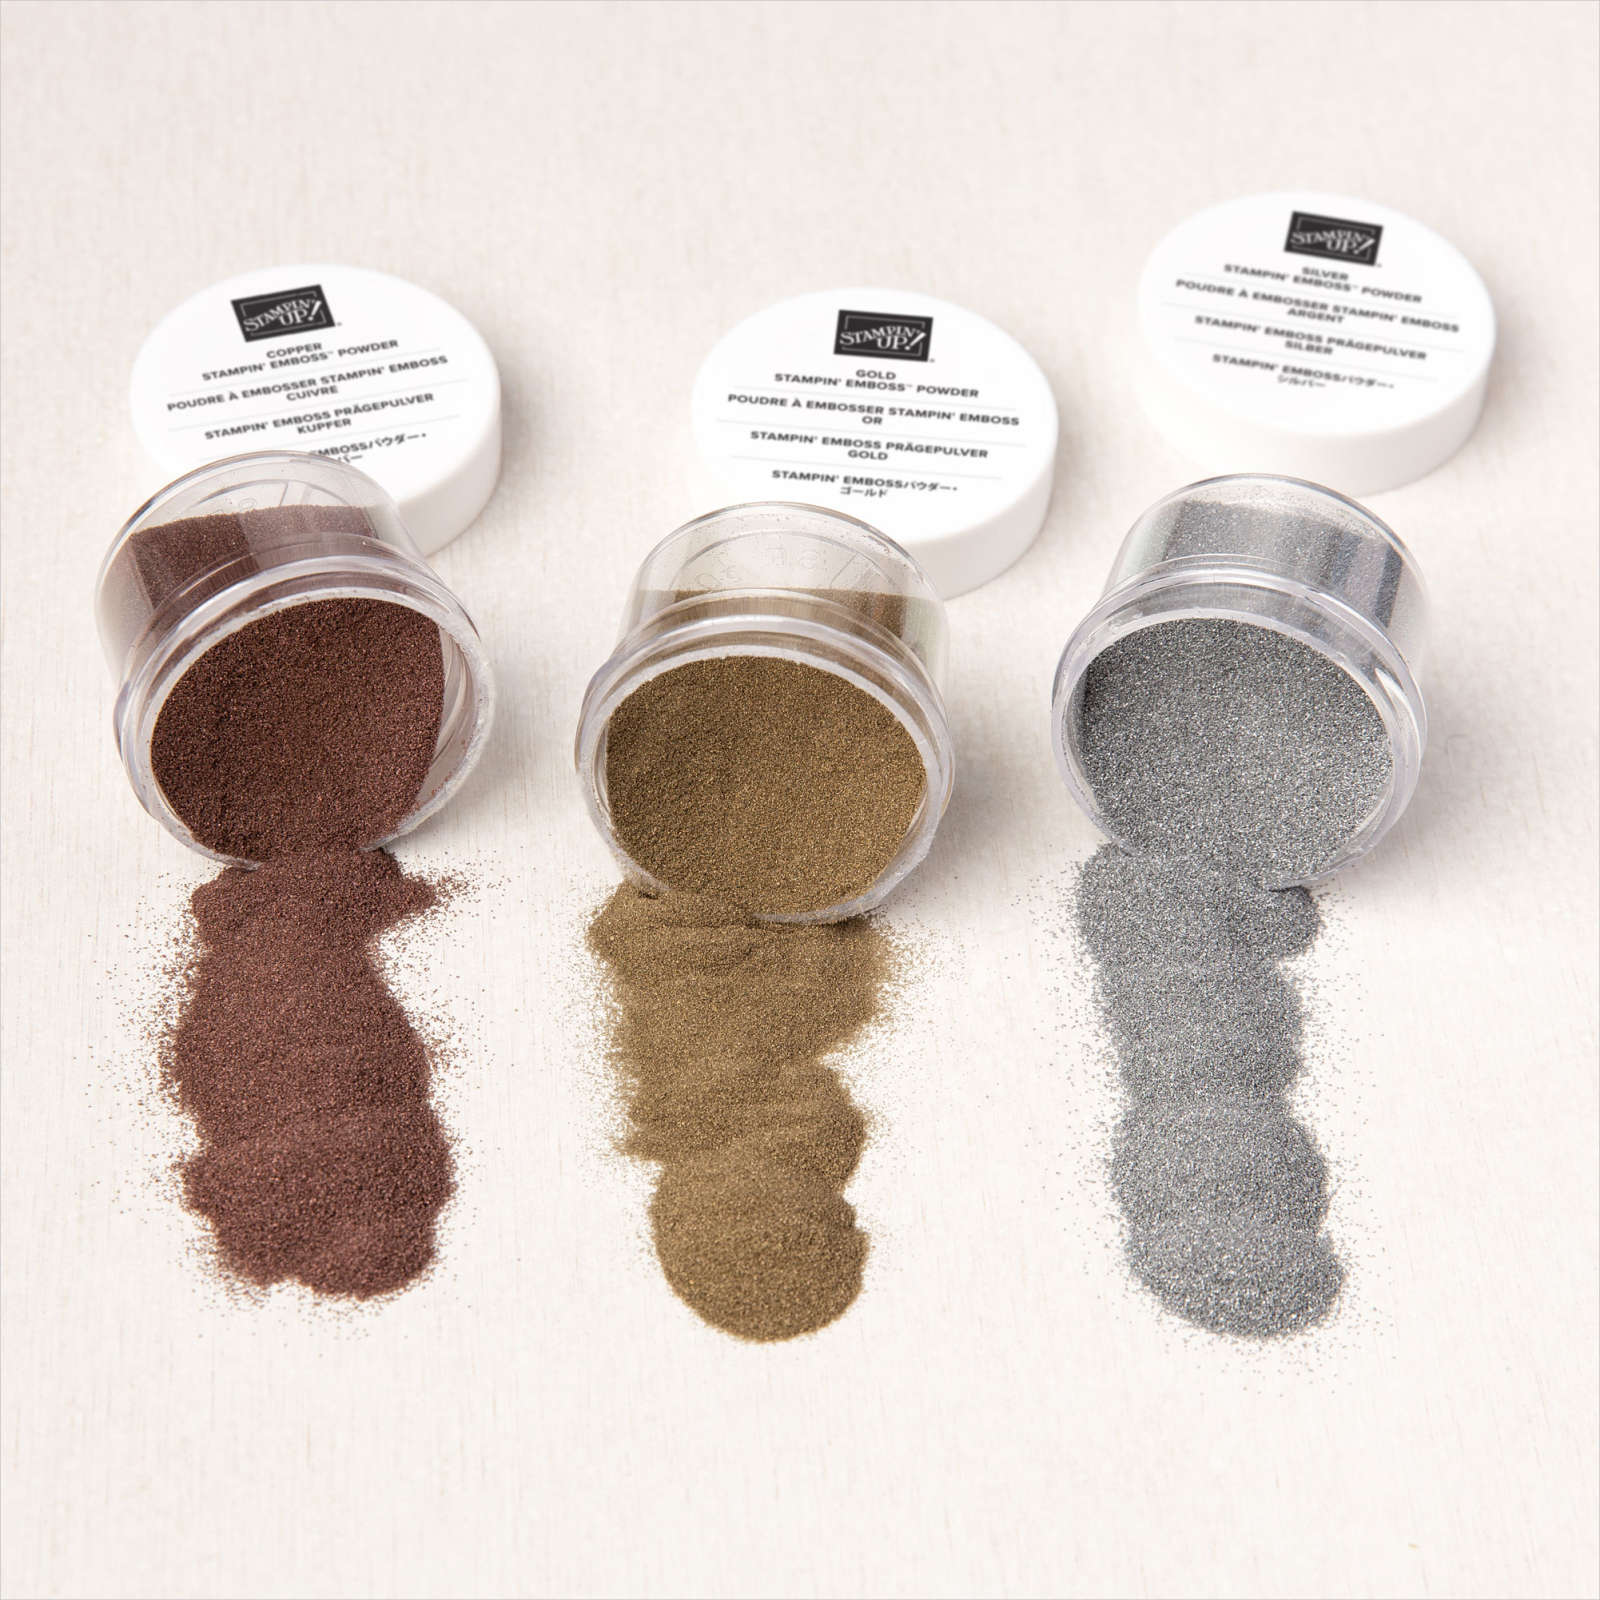
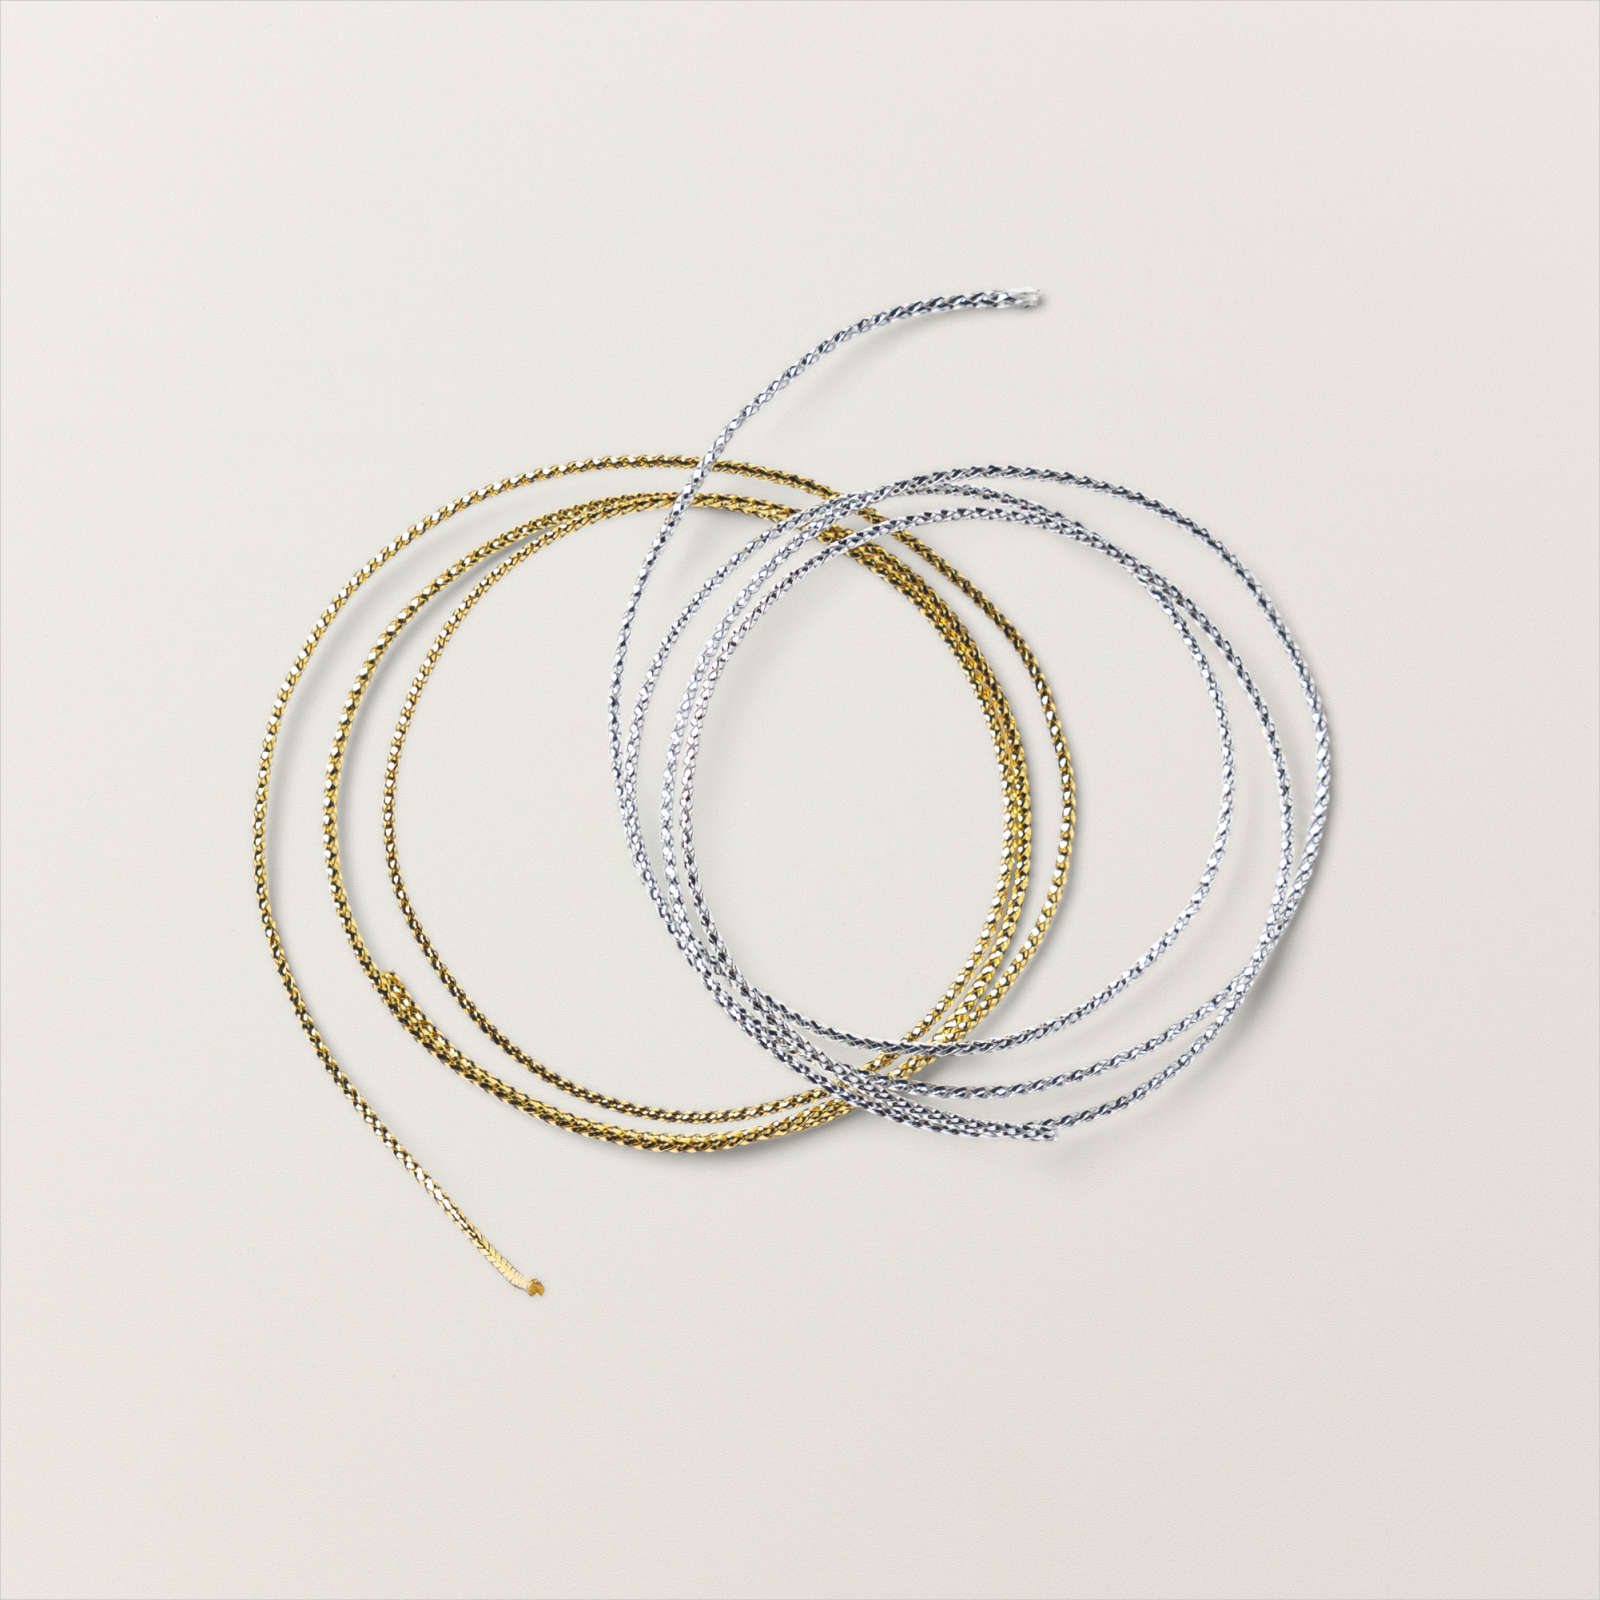
I stamped in versamark and the used Gold Embossing. Finished my cards off with a small Gold Twine Bow and some Festive Pearls.
Gift Tags
As the panels were 3×3 size I figured they’d be the perfect size for Gift Tags. I dont know about you but I never have enough Gift Tags for Christmas gifts. I’ll be able to make oodles of these with this paper pack!
I was happy with how these turned out!
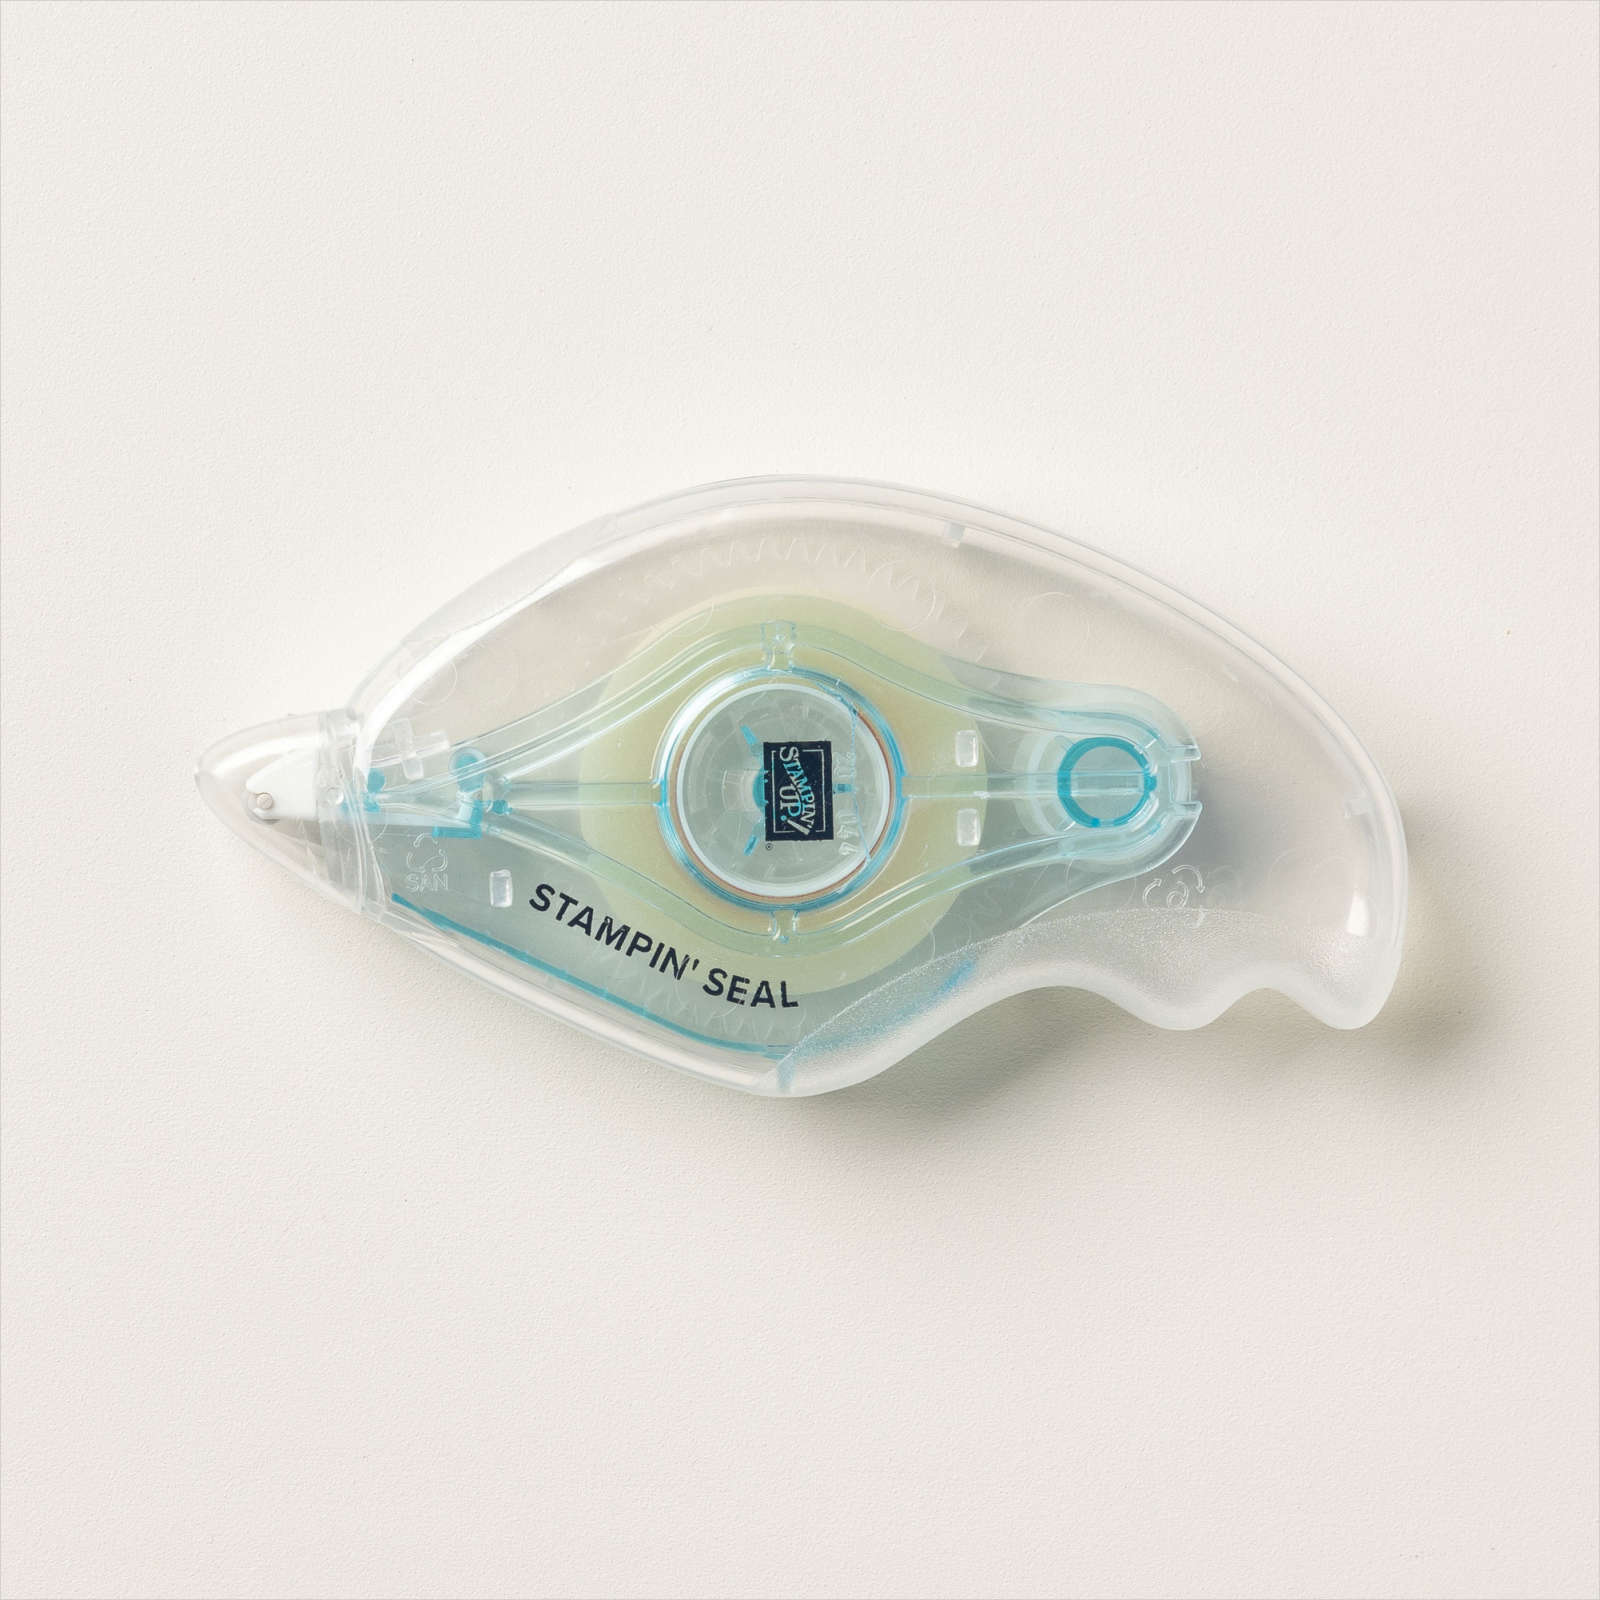
To start I cut a base 3×6 and folded in half. Using a folded tag allows you to pop a little wish inside. Before adhering the frame piece to my card base I affixed the ribbon down with some Tear n Tape. Using Tear n Tape will secure the ribbon and affix the panel piece on top.
I then layered the sentiment piece on top and finished off with a bow and embellishments.
I hope these projects inspire you to use that frame piece of Designer Series Paper.
Need Supplies?
If you live in USA, please visit my lovely friend Jeanne HERE. She’d be more than happy to help you with products and classes.
If you live in Australia, please visit the lovely Leonie HERE. She’d love to help you out with products and classes.
If you live in Canada, I would love to be your Demonstrator, and help you with all your crafting needs. Just click on any of the products below to start shopping. My online store is available 24/7 and if you need help or have questions, please don’t hesitate to contact me.
