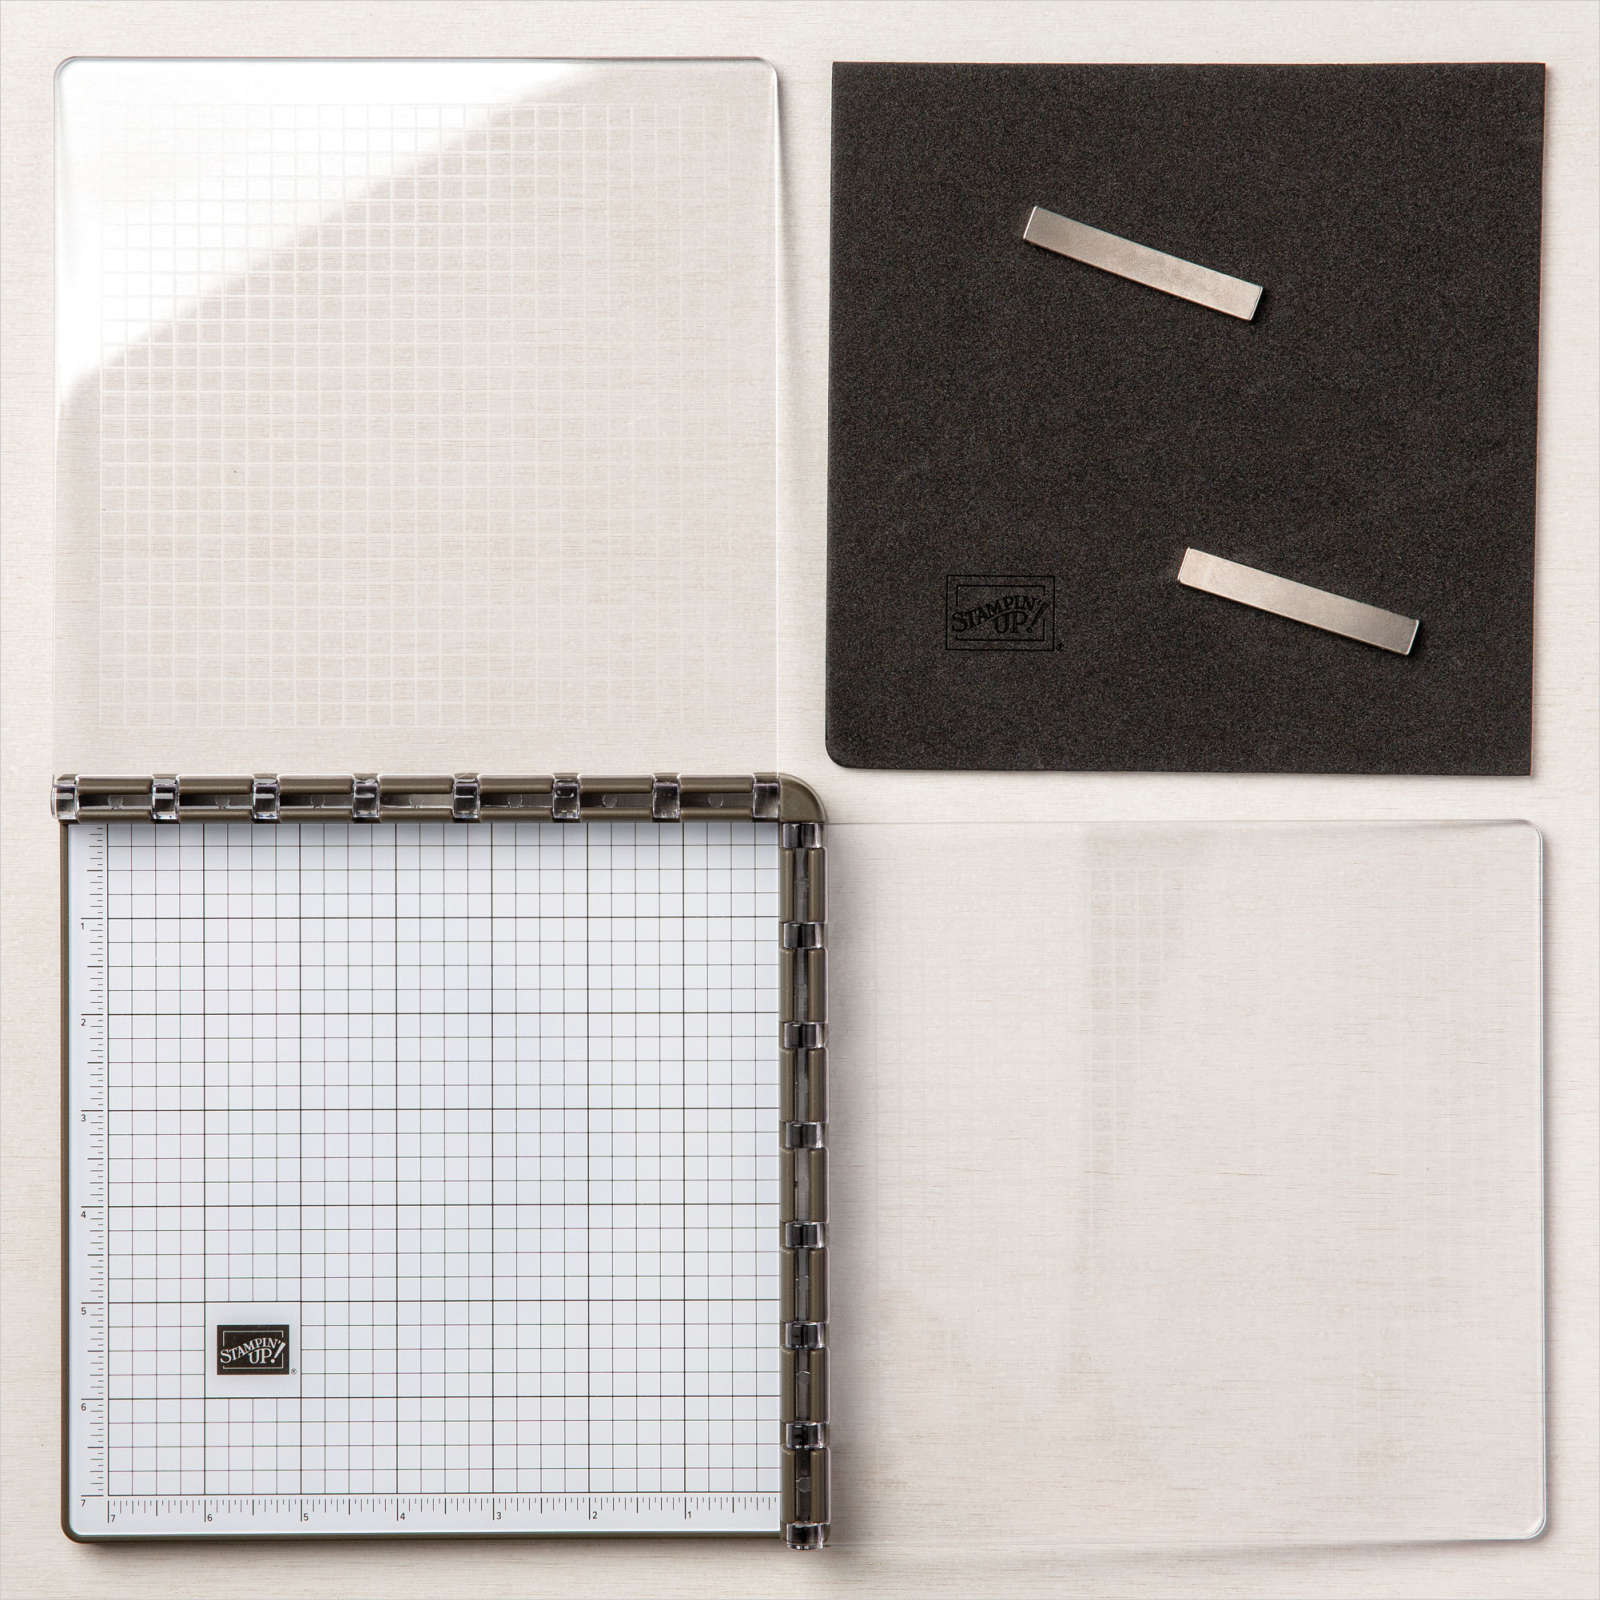
Stamparatus Basics
The Stamparatus is an awesome tool for so many crafting techniques, but getting started can be a bit daunting, so here are some basics and tips for success.
The Stamparatus comes with everything you need to get started; the base with grid lines for easy placement and 2 open, hinged sides, 2 reversible plates for you stamps, also with grid lines to help ensure your stamps are perfectly placed, 2 super strong magnets, and a foam mat to be used with photopolymer stamps.
Magnets – These are super strong, and you may only need one to hold your cardstock in place. I recommend wrapping tape around the magnet (I used packing tape) to make a ‘handle’ so it is easier to maneuver your magnet.
IMPORTANT NOTE – Do not let the two magnets come too close to each other. They will attract to each other, smack together and break. If this happens, you could use the pieces or you could purchase replacements (pg.144) Don’t feel bad if this happens, you won’t be the first be the first one to do it!!
There are handy storage slots on the back of the Stamparatus to hold the magnets when they are not in use.
The Stamparatus is great for perfect placement of your stamping, great for 2-step stamping, perfect inking/image stamping for large or background stamps, easily creating multiples of image or sentiment and lots more, so we will only cover a few today.
Lining up multiple stamps and repeat, hinged stamping
If you want to create a sentiment with multiple singe word stamps, it is easy to do with the grid line placement guides. Using the hinges and moving your plates allows you to create fun strings of the sentiment.
Place your cardstock on the base and secure with a magnet.
Place stamp on cardstock in desired position.
Close the hinged plate and the stamp will secure to it.
Open the plate, ink the stamp, close the plate and stamp.
If you then lift the plate off the hinges, you can move it down one slot and repeat. This will give you the same sentiment lower on your cardstock.
Repeat down the length.
Move the plate back to the top hinge, flipping it over so the other side faces the base.
Add your second stamps in between the lines already stamped, close the plate and repeat the process.
This will give you multiples of the sentiment, lined up down your cardstock.
Use the piece to create your card.
Stamping large or background stamps
Sometimes getting a great image when using a large stamp such as a background stamp can be tricky, but it is easy to do with the Stamparatus. Everything is held in place, so you ink and stamp as often as you need to get a nice image.
In this example, I didn’t get much other than the bottom stamped the first time. I moved the magnet, reinked and stamped again, getting a nice full image. If you cut your cardstock larger than you need, you could do this without moving the magnet.
Stamping many of the same image or sentiment
Are you doing some stamping for Christmas in July? We often make multiples of the same card when we are making Christmas cards. This is fast and easy to do with the Stamparatus. Start by cutting a template with a die or punch. I like to use Thick cardstock for this. You can then die cut or punch multiples of your pieces placing each one close together to maximize cardstock use.
Put your template on the Stamparatus, line up your stamp, drop a blank die cut in the template and stamp. Remove and repeat! Again, since everything is lined up and held in place, you get perfect stamping every time making multiple stamping a breeze.
These are just a few great ways to use your Stamparatus, there are lots more. Play with it, get used to it, and you will find lots of ways this wonderful tool can make your stamping easier.


