The Good and Bad of Frozen
I had some dental surgery yesterday, which is something I have (thankfully) very little experience with. The dentist did freeze the area, but there was a lot of mucking about in my mouth so things are still rather tender. Unfortunately I had a bit of a bad reaction to the freezing drugs as well, so suffice to say the whole experience was not the most pleasant - the Bad of Frozen!
So let’s move right on to the Good of Frozen. Have you seen the new movie that is out? I haven’t seen it yet, but I suspect it is wonderful. I loved Olaf when the first Frozen movie came out, and put him on a number of 3D items.
It is time to update him for the new movie, so here is my new Olaf!

Isn’t he adorable? How can you not love this fun guy? He is decorating one of the boxes that I posted a tutorial for recently. You can get all the instructions for the box here.
Here is how I made Olaf.
Card Stock
Whisper White - body parts
Basic Grey - inside mouth
Early Espresso - arms and hair
Pumpkin Pie - nose
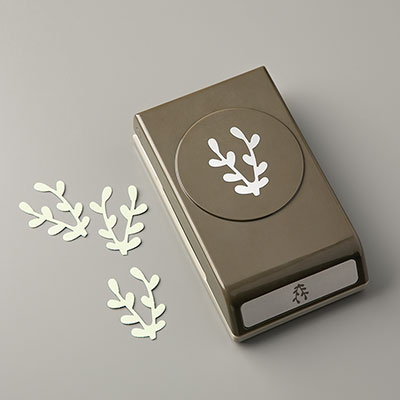
Punches
Sprig - arms
1” Circle - feet
1/2” Circle - eyeball, buttons
Small circle for pupils
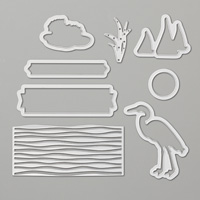
Dies
Layering Circles - body parts
Layering Ovals - body parts
Lakeside - hair
Other
Black Stampin Write Marker - eyebrows
White Stampin’ Chalk Marker - button highlights

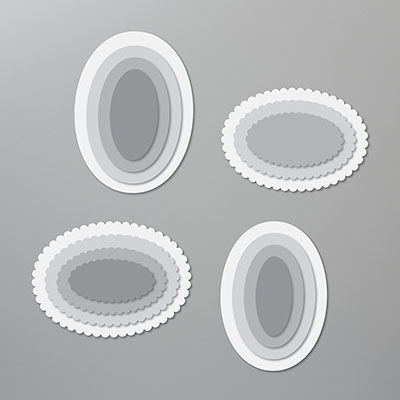
These are all the pieces I used. The size of the circle and oval dies does not matter a lot, as long as they are relative to each other. For reference though, here are the ones I used.

Tips and Tricks
Use your paper snips to flatten the bottom of the circles for his feet and 2 body pieces. His mouth is half the 2nd size oval I cut. Use a 1/2” strip rounded with a circle punch to make his tooth. Glue to the back of the small oval piece, and attach to his face with dimensionals, covering the grey seam. I free cut his nose. Cut the sprig in half, and trim leaves leaving just 3 ‘fingers’ on each branch arm. Depending what you are attaching Olaf to, you may want to cut an additional large over to glue to the back of his head so it is plain white. (hiding where the hair is attached)
If you are making multiples of Olaf, you can run all your die cuts and punching together, and then assembly is quite quick and easy.
So, Do You Want to Build a Snowman??
Have fun with the Good of Frozen!