Christmas Gleaming Box Tutorial
Are you looking for a cute little box to hold a Christmas gift? I have a tutorial for a wonderful little box for you today. You can fill it with some gift tags, candy, or as my kids say, money fits nicely into almost anything!!

This box is easy to make, and uses just half a sheet of card stock. Here are the instructions for my box;
All dimensions are in inches.
Finished dimensions are 2 3/4 wide x 3 high x 1 1/4 deep
Night of Navy card stock - 5 1/4 x 8 1/4
On the 5 1/4 side, score at 1 1/4 and 4
On the 8 1/4 side, score at 1/2, 3 1/2, 4 3/4, 7 3/4
Fold on all score lines. I always use a bone folder for 3D items to ensure my folds are crisp. Cut small v’s as shown in the photo below, and remove 2 of the top tabs. The v’s make assembly a little easier and less bulky.

Use a strong adhesive, I used Tear & Tape, and place on the outside pieces as shown here:

Turn box over and apply to underside of top tabs. I like to add an extra 1/2 inch to the top of my box to fold over. This gives a nice clean finish, and adds extra structure to your box.
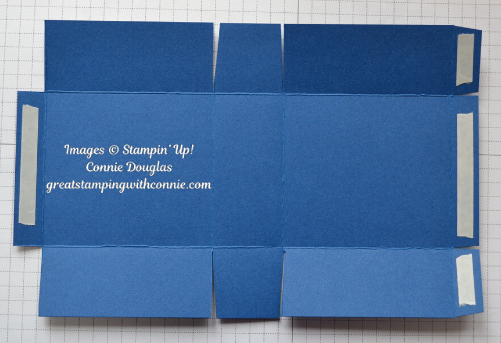
Remove backing from Tear & Tape and assemble box. Remove backing from top tabs and fold in.
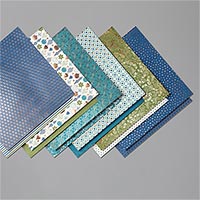
For the outside decorating, I used the gorgeous Brightly Gleaming Specialty Designer Series Paper. This paper has copper embellishments to make all your projects bright and shiny.
Cut 4 pieces of SDSP as follows:
2 5/8 x 2 7/8 - Cut 2
1 1/8 x 2 7/8 - Cut 2
Adhere SDSP to all 4 sides.
That’s it! You have a beautiful little box ready to fill for gift giving.
Happy Crafting!