Wisteria Wishes Frame
It's Saturday again, and time for another FAB Stampers post. It's Jeanne’s turn again this week, and she’s using the Wisteria Wishes Bundle to make a framed project.

From Jeanne’s Craft Studio in the Bluegrass
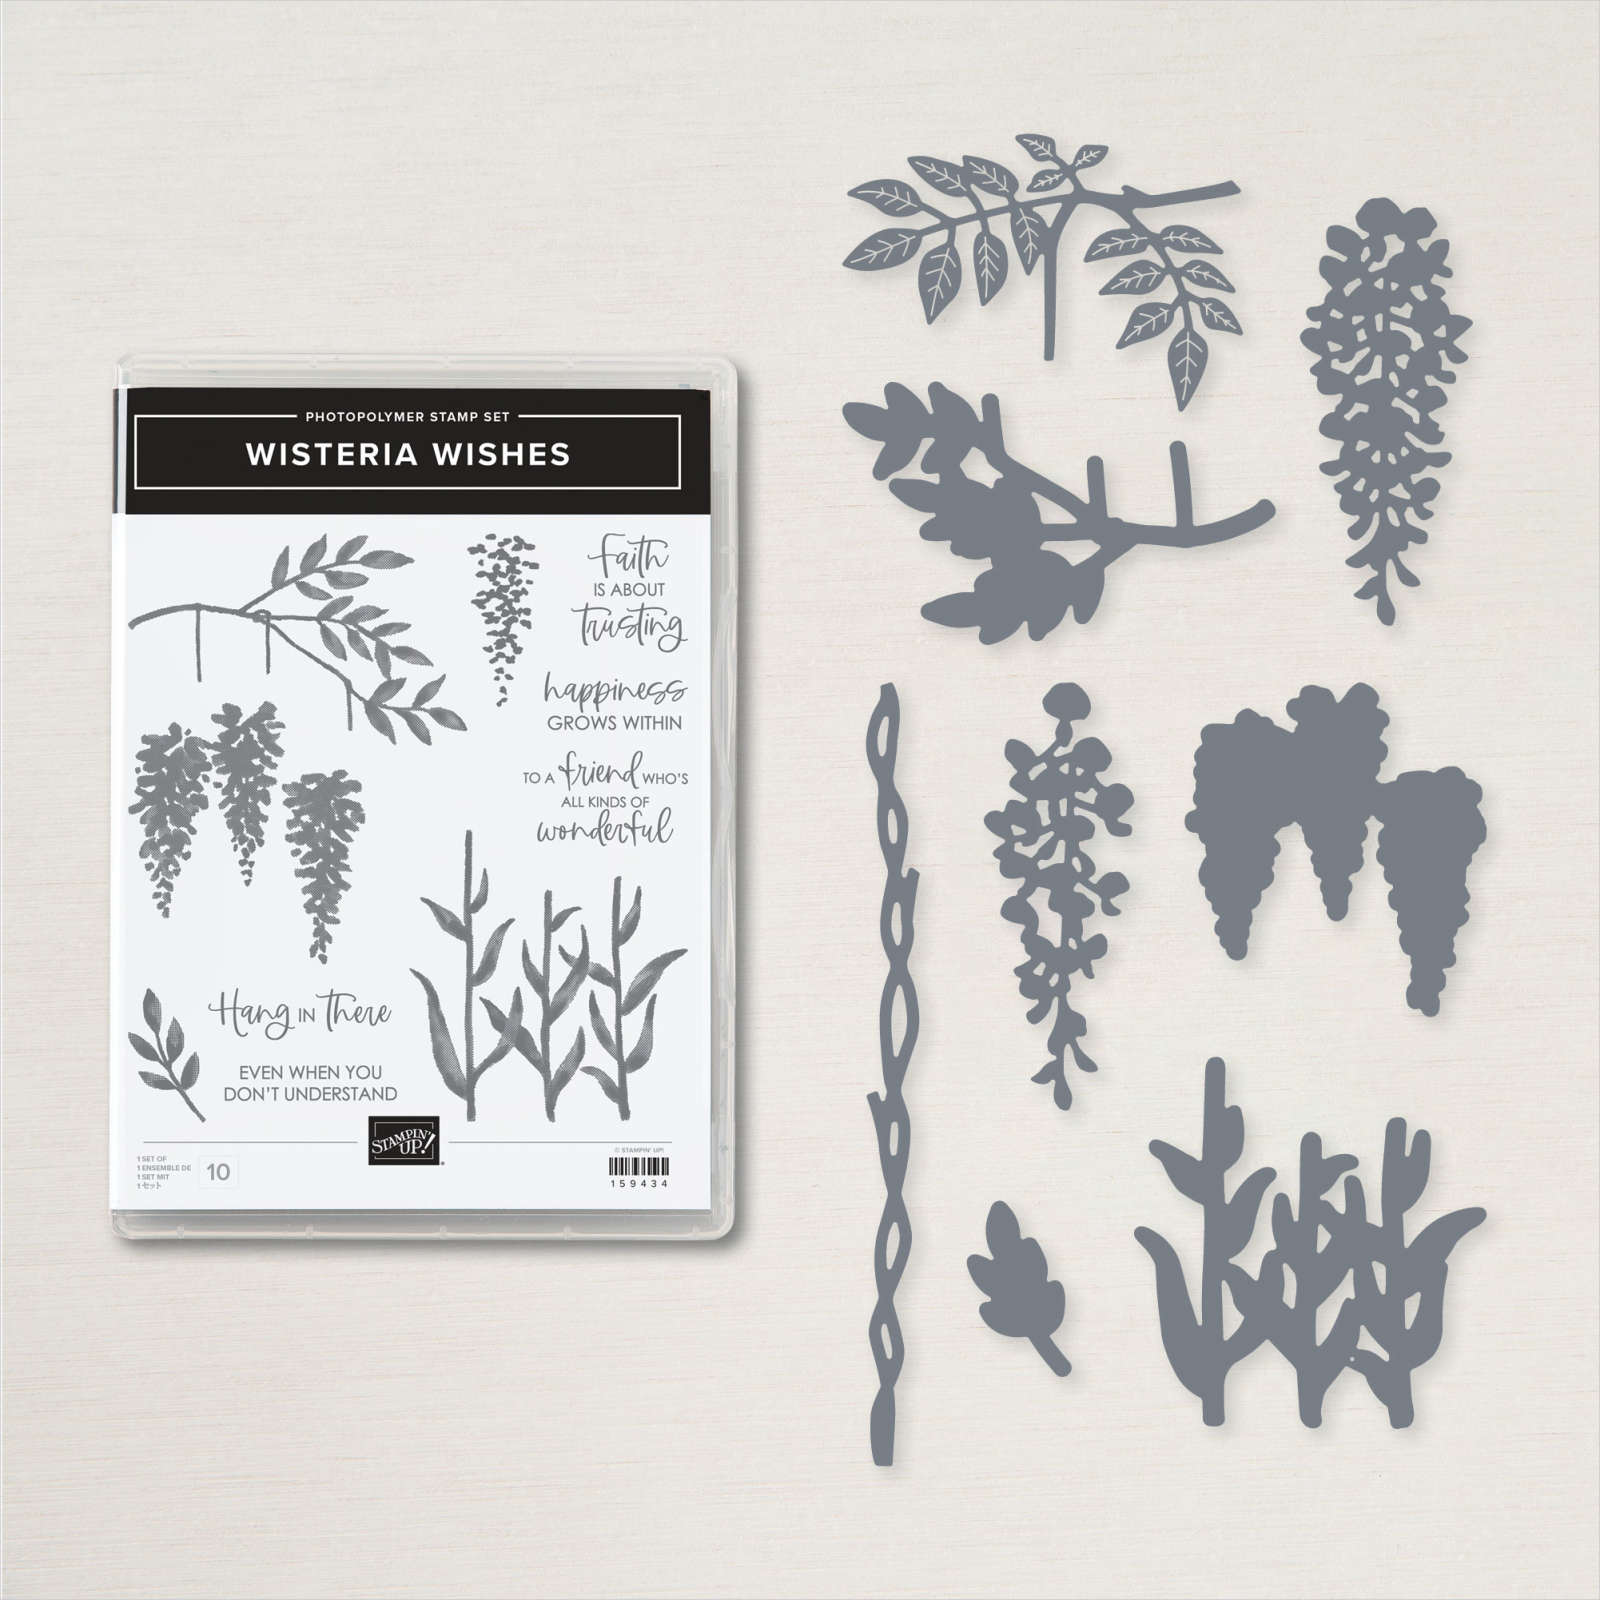
I chose the Wisteria Wishes Bundle for my project today. I really like this bundle. It has images, which can be used as hanging flowers or on stalks, and I like all the sentiments included. You can even save 10% by purchasing the stamp set and dies as a bundle.

Wisteria Wishes Frame
I designed this project for a recent class. It's 4" x 6", a common size in the USA, so it's easy to find a frame at your local dollar store. You can easily make this to fit any sized frame you may have.
How It's Made
First, I cut a piece of Basic White cardstock to 4 x 6 and a piece of scrap cardstock to 4 x 6, so that I would have a backing for my project.
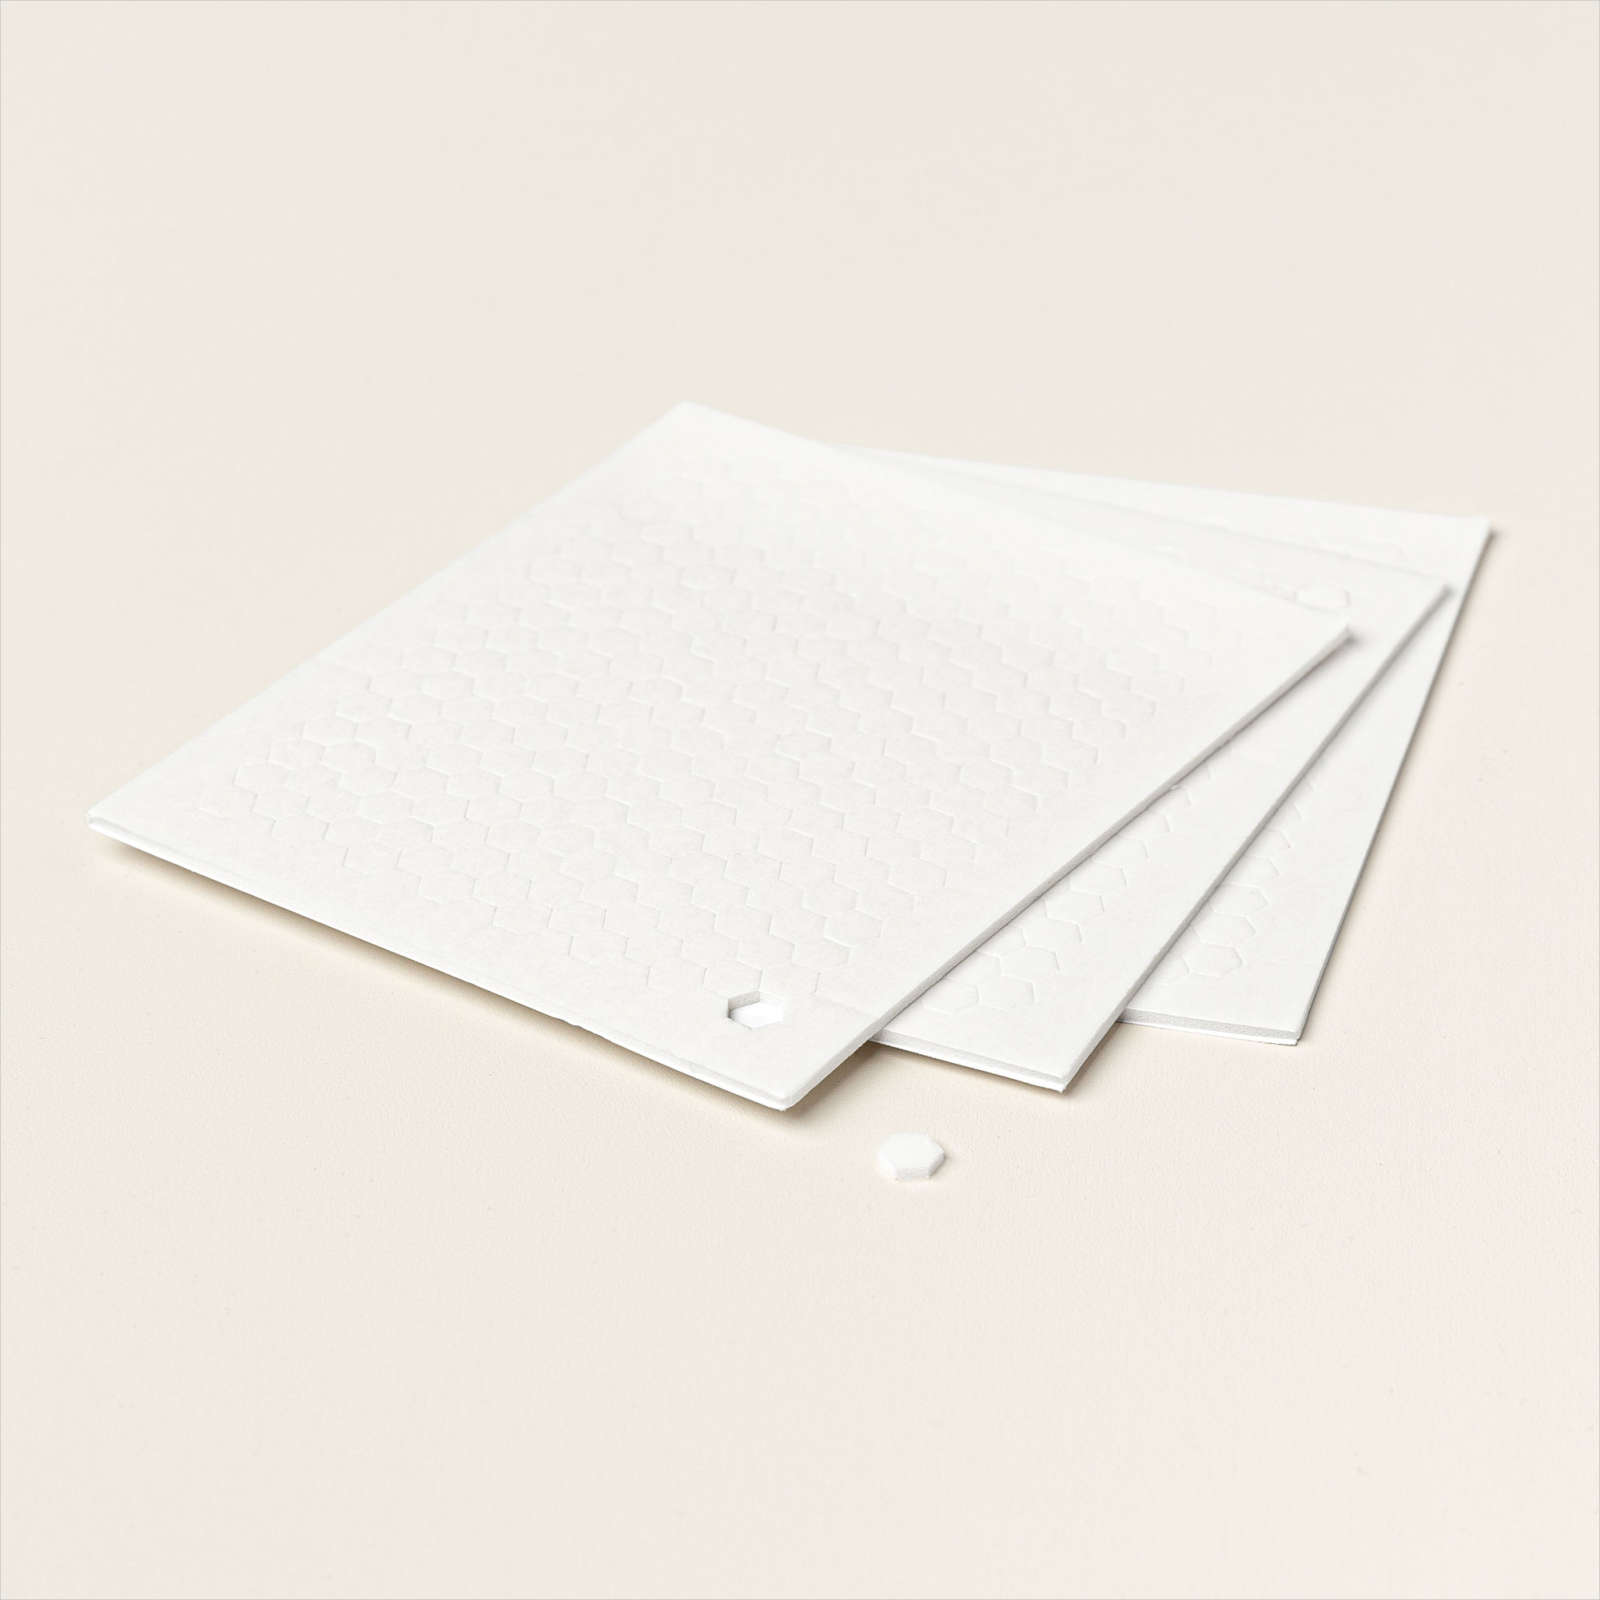
I cut a circle using the Stylish Shapes dies, slightly above center. Then, I used the Brick & Mortar 3D Embossing Folder to add bricks to my white panel and attached this with Dimensionals to my scrap backing.
Next, I used a Blending Brush to add Highland Heather ink to the circle I had cut from the Basic White panel. I stamped the sentiment on the circle in Gorgeous Grape ink, and used Multipurpose Glue to adhere it into the hole on the white panel. Glue is the best choice for this because you have a little time to get it just where you want it before it sticks.
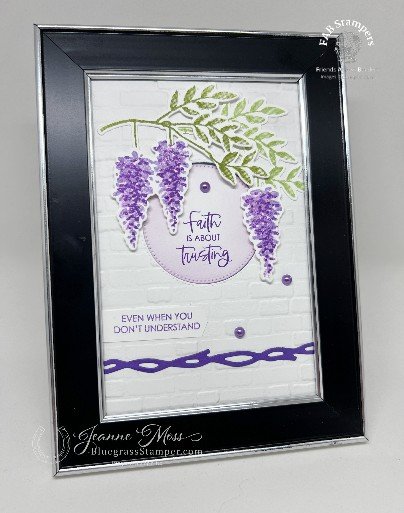
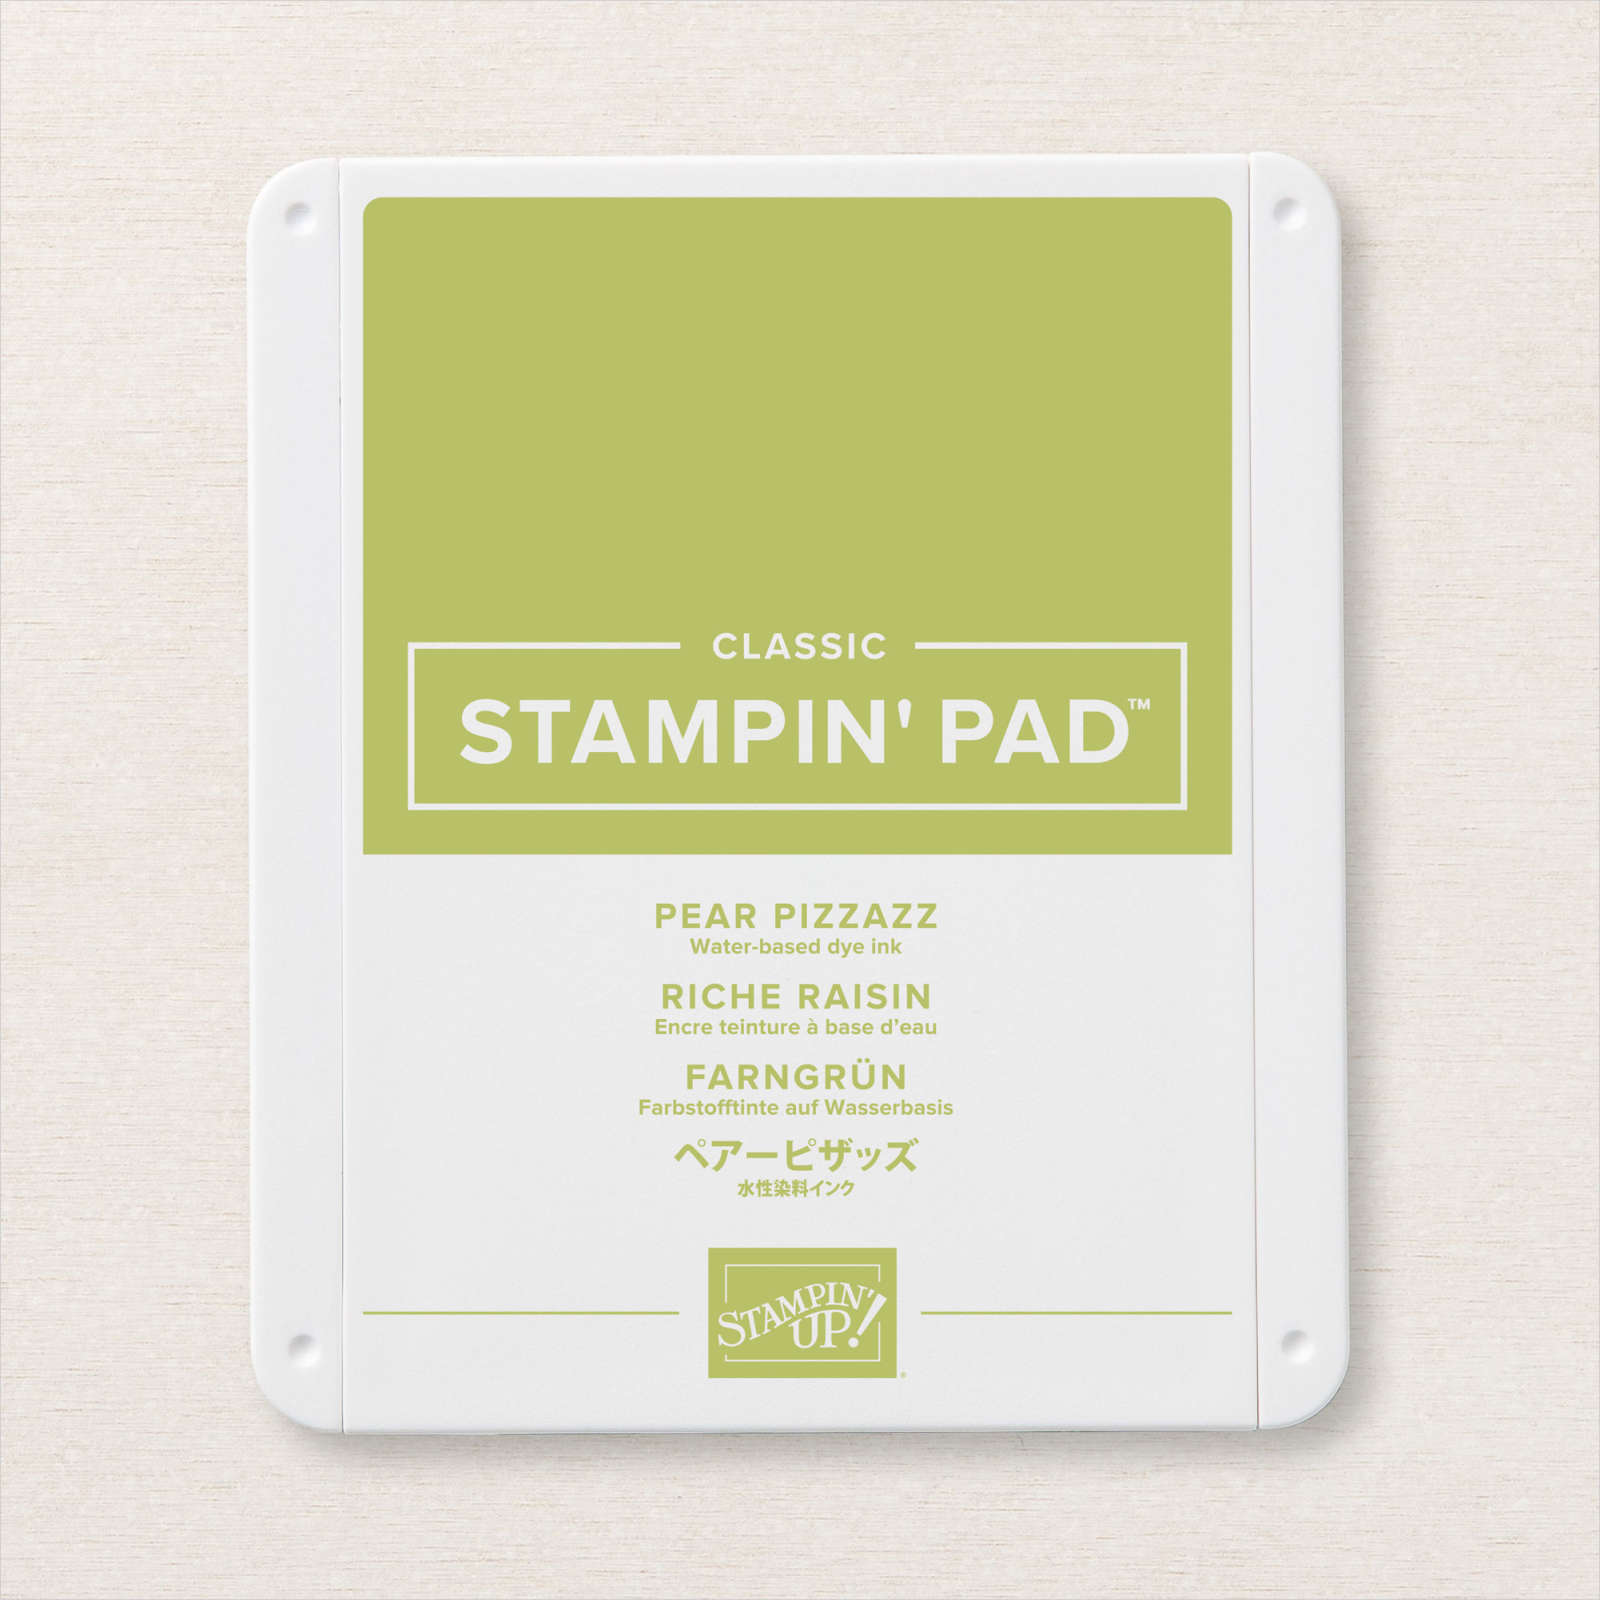
I stamped the leaves twice on Basic White cardstock, once in Pear Pizzazz and once in Old Olive and cut them out with the coordinating die. Before I attached the Pear Pizzazz leaves with glue to the white layer, I cut off the left two "stems" for the flowers, leaving only the one on the right. I positioned this stem where I wanted the flower to hang before gluing the leaves to the white panel.
Before I attached the Old Olive leaves with Mini Dimensionals, I cut off the stem on the right side, and again lined the leaves up using the stems to determine where the flowers would hang.
I stamped the three-flower image in Highland Heather on Basic White cardstock. Then, I used the single flower image to add Gorgeous Grape ink to the flowers. I cut them out using the coordinating die, snipped off the flower on the right and attached them all with Mini Dimensionals.
The Details
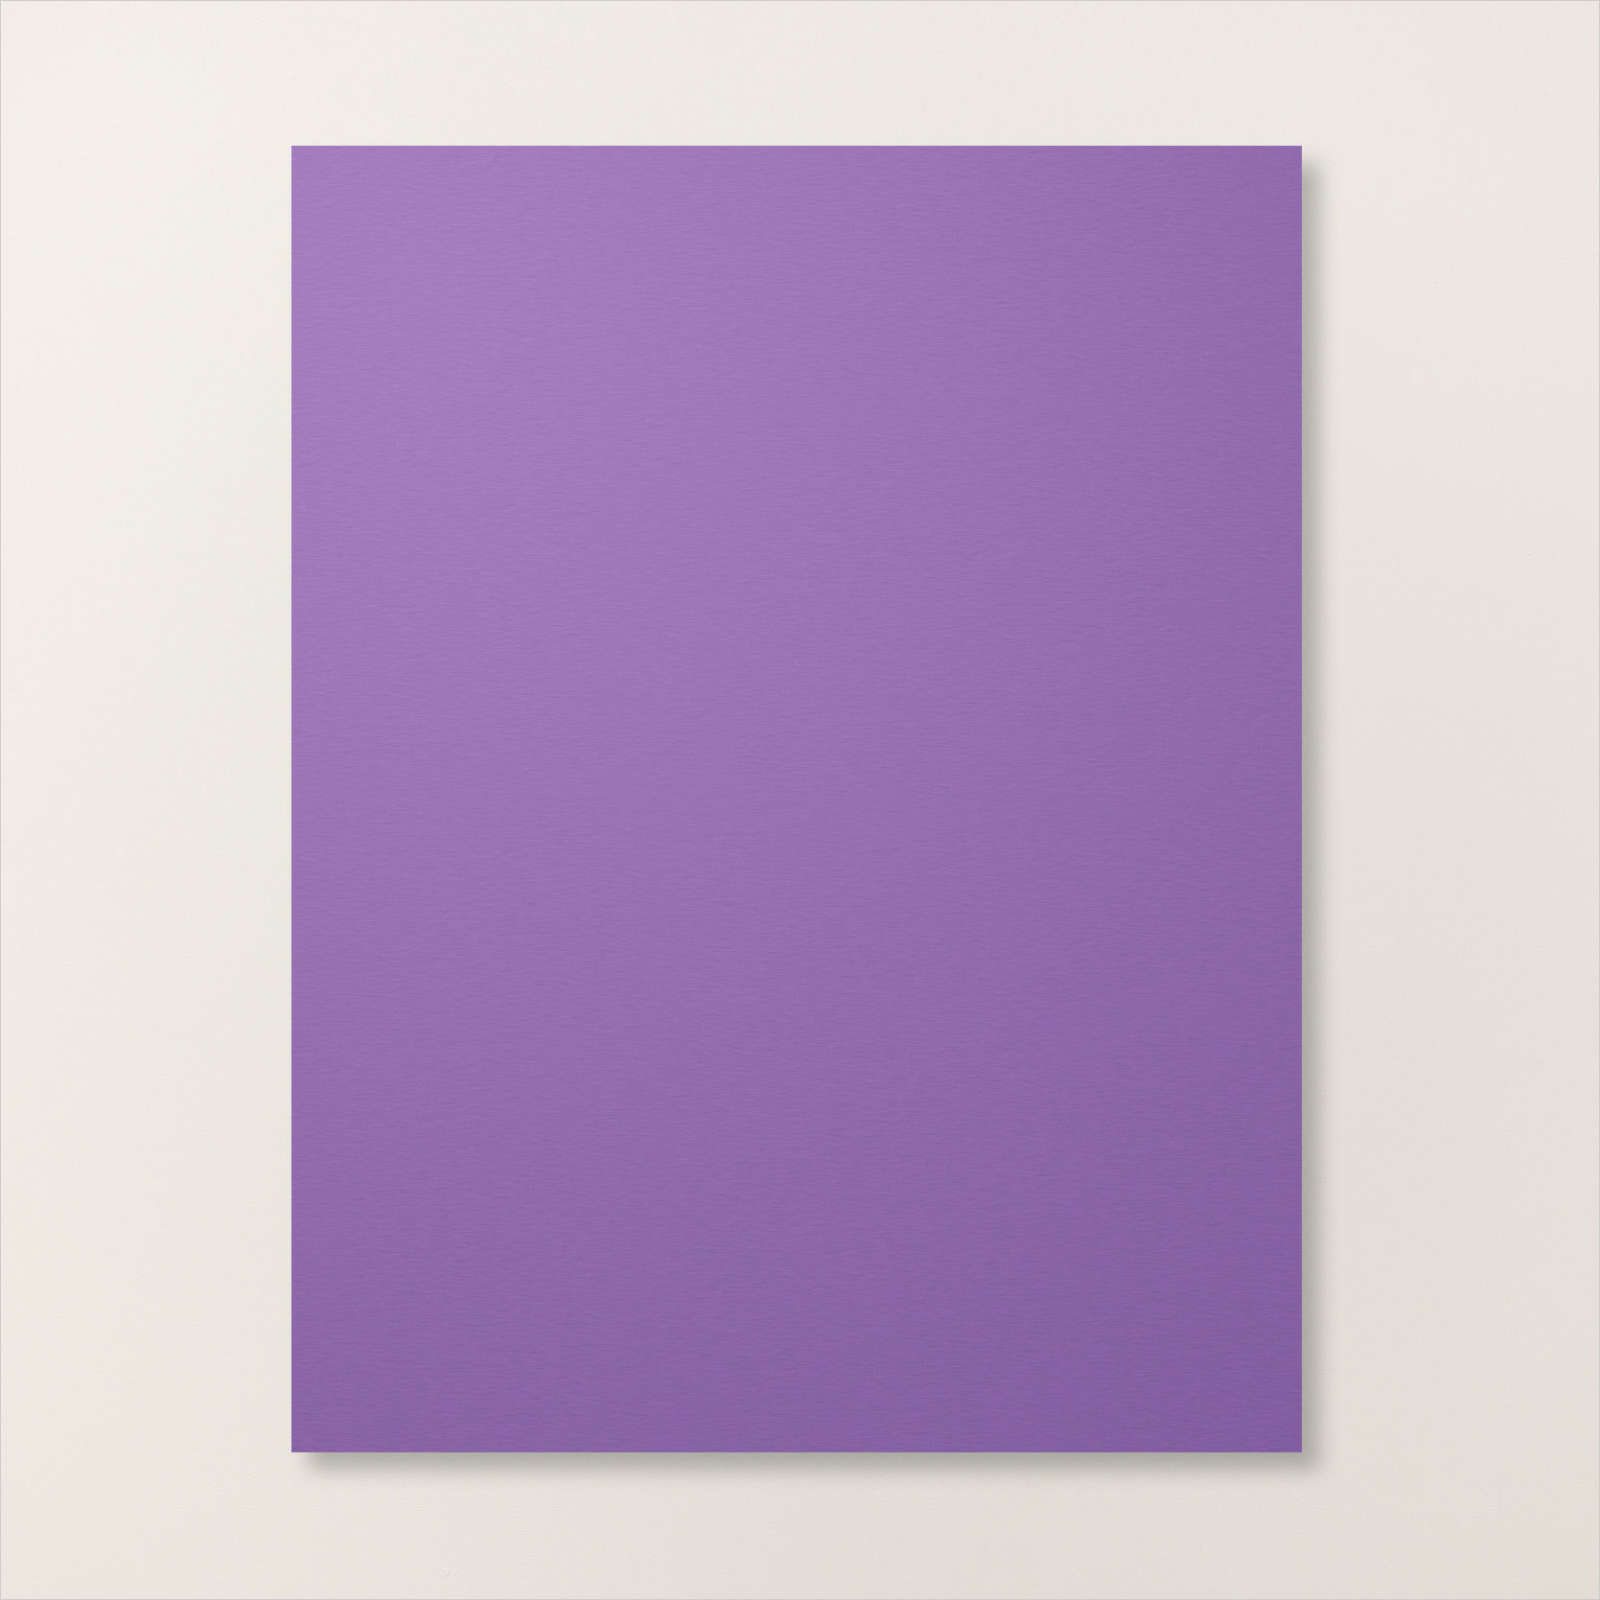
I used a strip of Gorgeous Grape cardstock to cut out the vine from the Die set and adhered it with glue to the bottom area of the white panel.

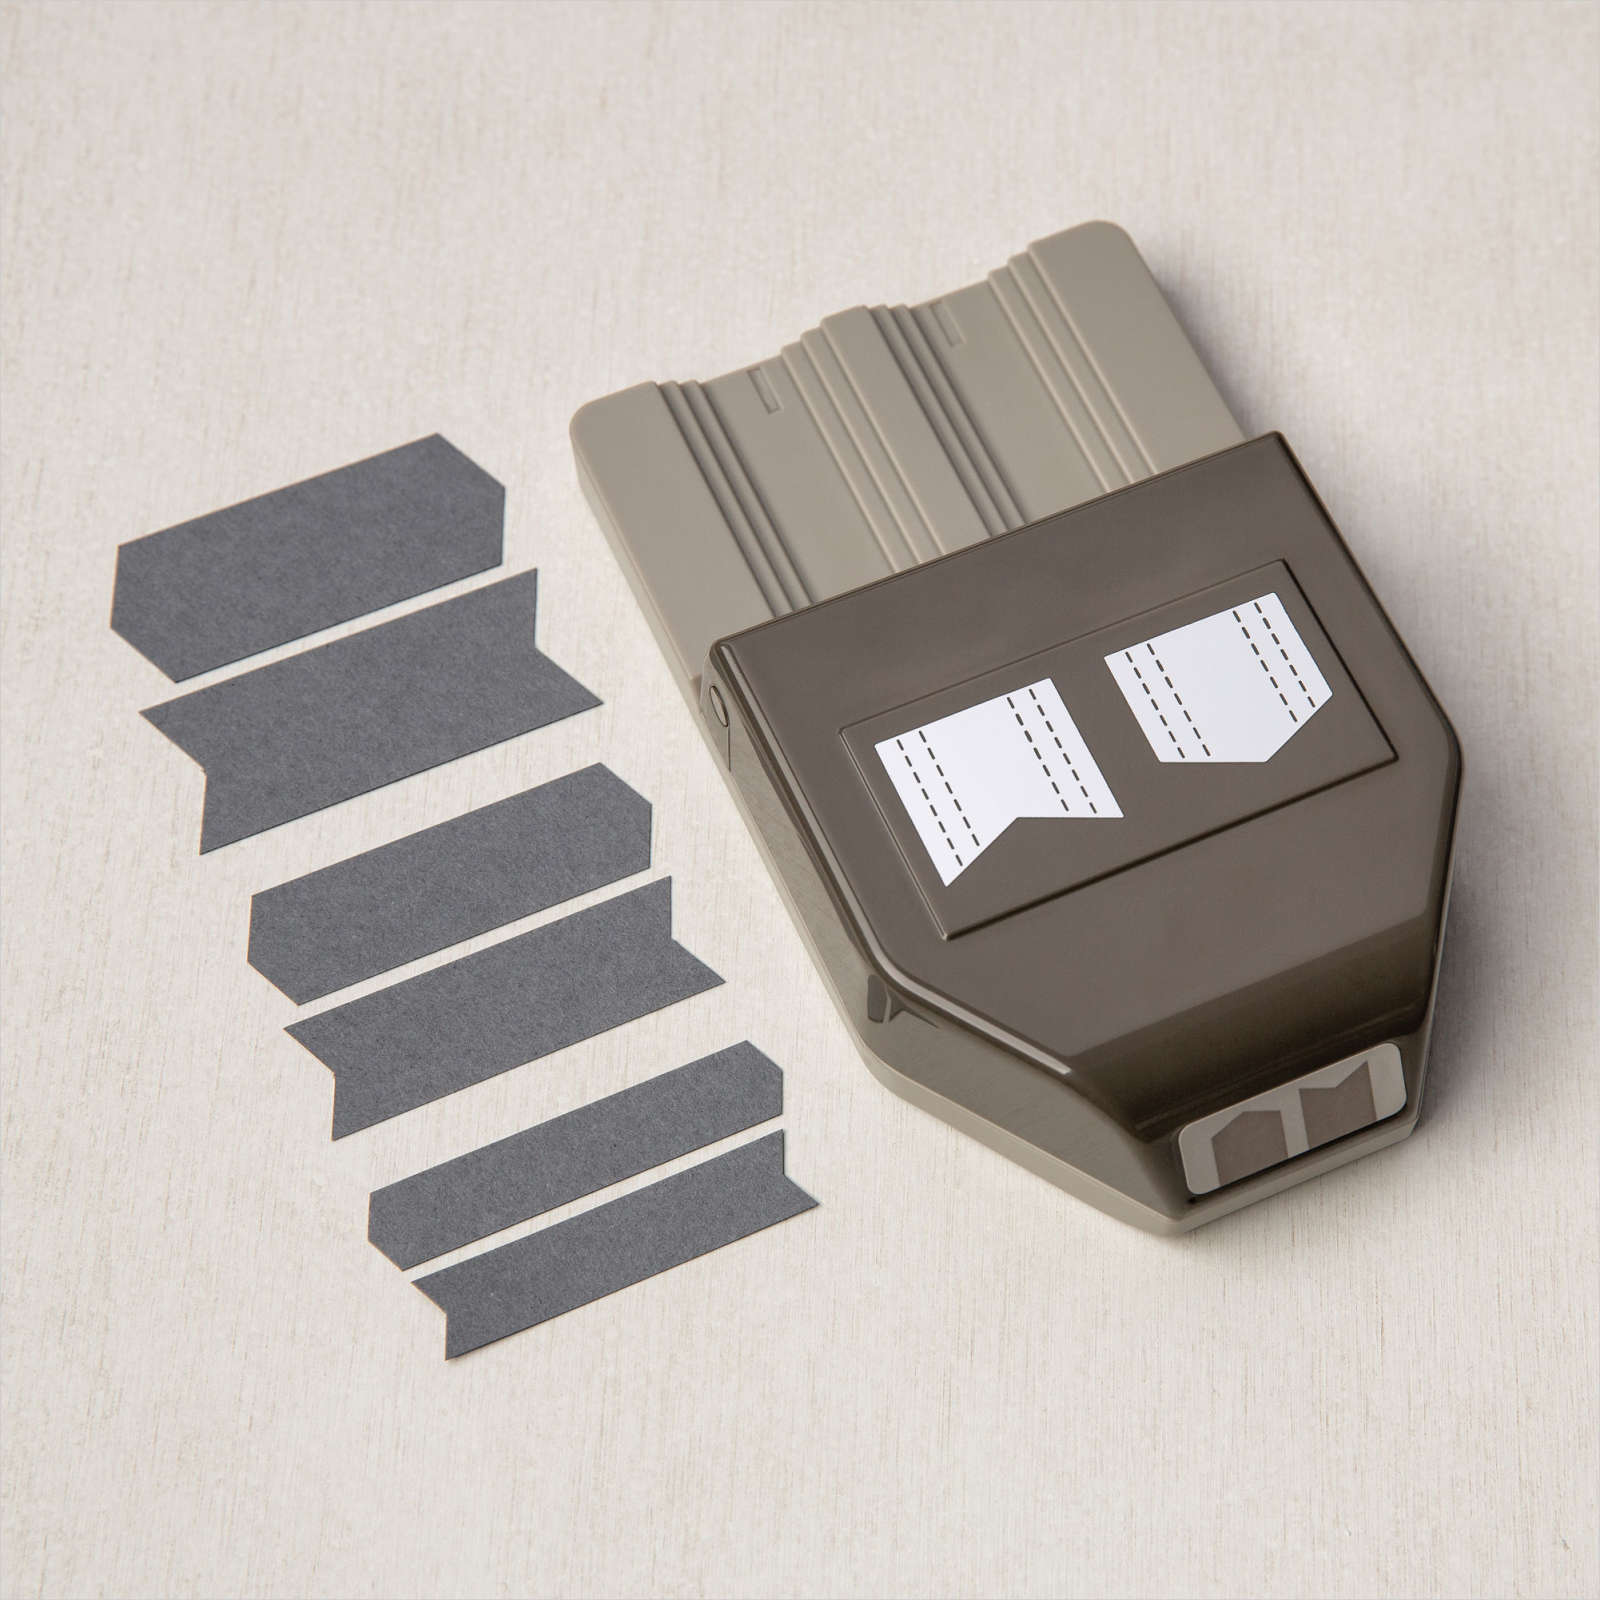
Next, I stamped the lower sentiment on a small banner cut with the Banners Pick A Punch and adhered it with glue on the left side above the vine.
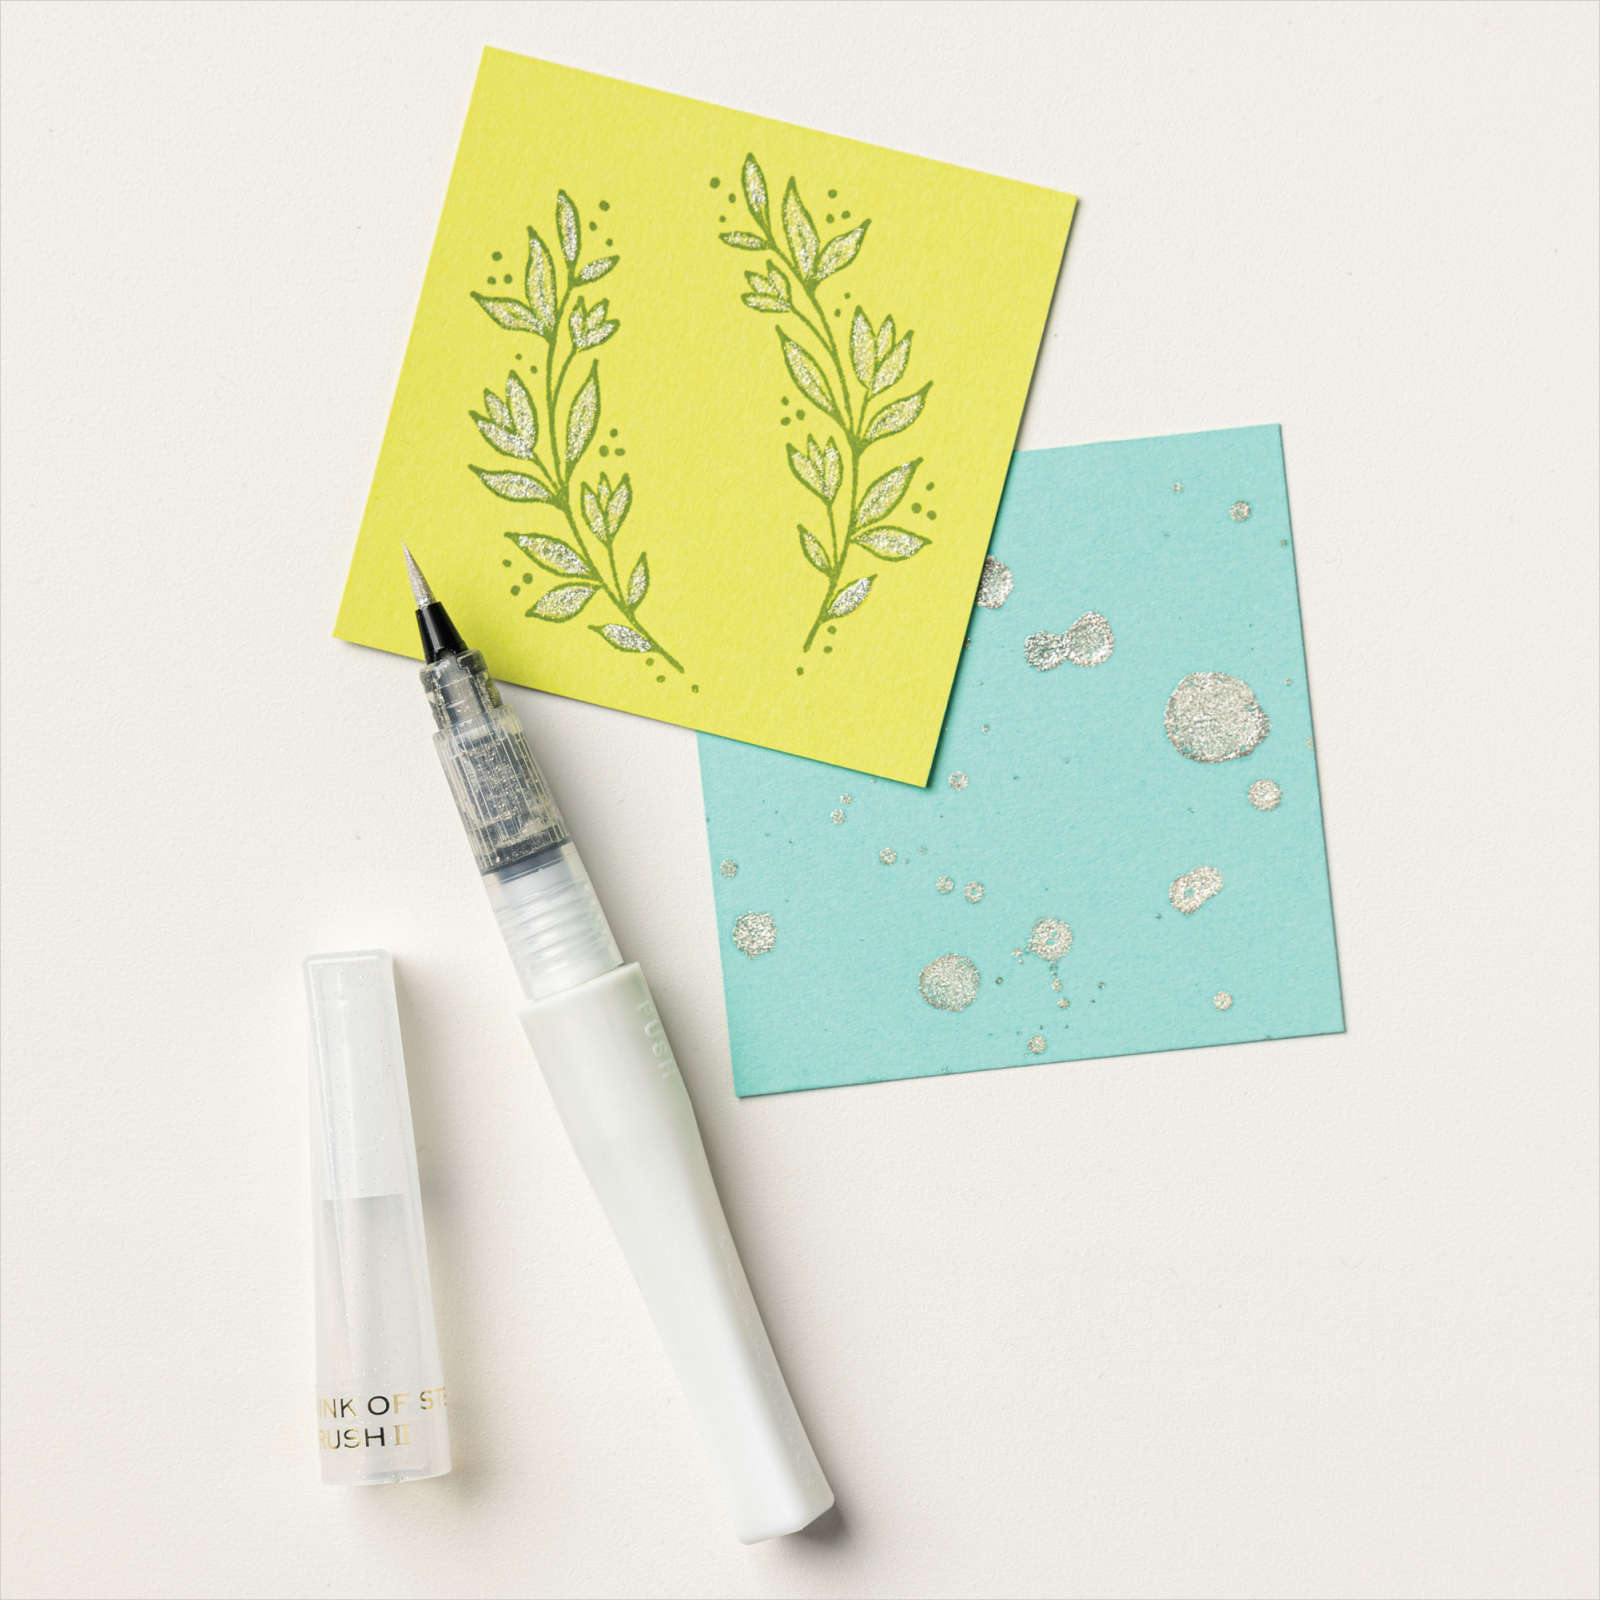
Finally, I embellished the flowers with Wink of Stella and added three pearls from the Pastel Pearls.
Need Supplies?
If you live in USA, please visit my lovely friend Jeanne HERE. She’d be more than happy to help you with products and classes.
If you live in Australia, please visit the lovely Leonie HERE. She’d love to help you out with products and classes.
If you live in Canada, I would love to be your Demonstrator, and help you with all your crafting needs. Just click on any of the products below to start shopping. My online store is available 24/7 and if you need help or have questions, please don’t hesitate to contact me.