
Triple Mountain Fun Fold Tutorial
I saw a version of this card a while ago and wanted to try it. I have modified it to be a standard card base size, but I think it turned out well.

Abbreviations -
c/s – cardstock
CB – card base
DSP – Designer Series Paper (patterned paper)
Products used for this card -
Free As A Bird stamp set – 149468
Subtles 6 x 6 DSP – 155229
Stampin’ Blends – Daffodil – 154883, Smoky Slate – 154904
Stitched So Sweetly Dies – 151690
Layering Circles Dies - 151770
Pool Party Ink – 147107
Pool Party c/s – 122924
Daffodil Deligh c/s – 119683
Basic White c/s – 159276
Tools -
Paper Trimmer – 152392
Bone Folder – 102300
Paper Snips – 103579
Stampin’ Cut & Emboss Machine – 149653
Multipurpose Liquid Glue – 110755
Stampin’ Dimensionals – 104430
CB – Pool Party, 8 ½ x 11, scored at 4 ¼c
Using your paper trimmer, cut the front flap of the CB from to fold to the outer edge at 1 ¼ and 3 inches

Using the scoring tool on your paper trimmer, score each of the 3 sections of the card front from the top right to the bottom left corners of each section.
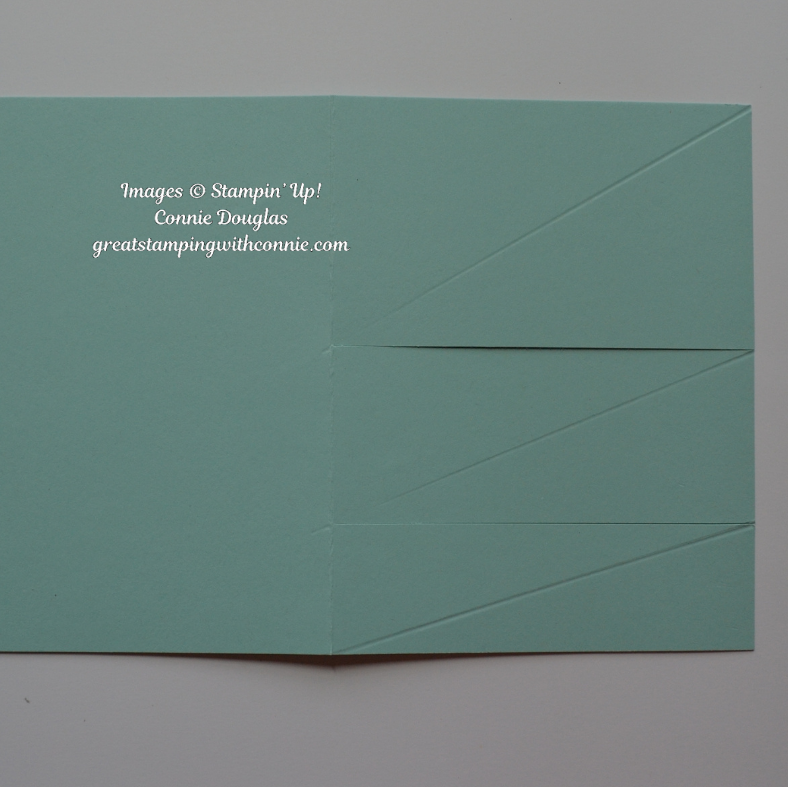
Fold the bottom triangle of each section under.

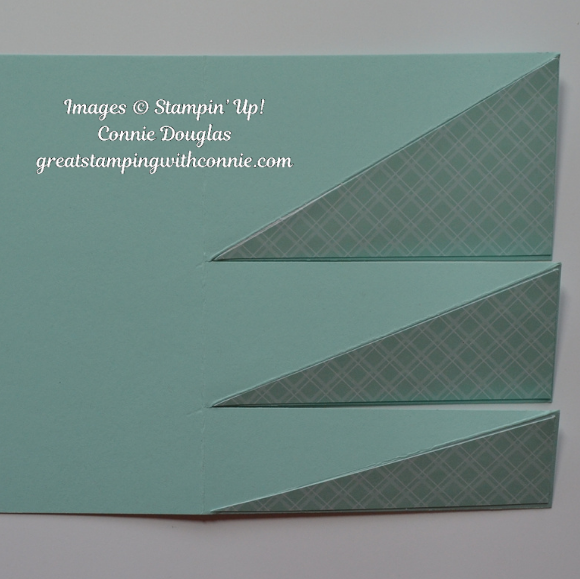
Cut 3 DSP pieces -
4 1/8 x 1 1/8
4 1/8 x 1 5/8
4 1/8 x 2 3/8
Cut each piece diagonally from top right to bottom left corner.
TIP:
When cutting on the diagonal, start your cutting blade in the middle of your paper so you do not crush the corners as you start to cut.
Using Multipurpose Liquid Glue, adhere DSP to CB sections.
Stamp the single bird image, 3 small flower/flower bud images and sentiments on Basic White c/s.
Die cut flower/flower bud images with the smallest Layering Circle Die
Cut the sentiments with the Stitched So Sweetly Dies.
Using Paper Snips, fussy cut around the bird image
Cut Daffodil Delight c/s one size larger than sentiment blocks with the Stitched So Sweetly Dies
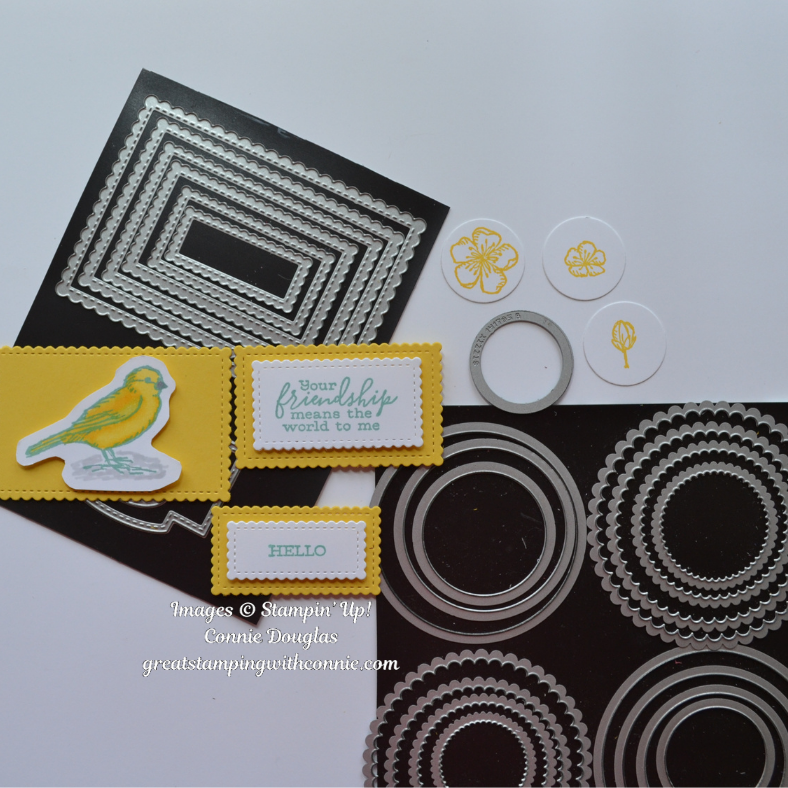
Adhere card front pieces to Daffodil Delight c/s with Dimensionals
Using Multipurpose Liquid Glue, adhere these to the three sections of the card front.
TIP:
Be sure to apply glue to only the bottom diagonal section of these pieces so the card front can fold and pop up.

Fold each section so it stands vertically and adhere one of the small circle pieces in the appropriate spot to hold the card in place.

Enjoy your finished card!