Boxes & Packages
I had a request for an evening of demonstrating boxes and packages that could be used during the holiday season, so that was what we did at our recent That’s Fancy night.

Packaging
We started with a little bowl that is easy to make with 3 pieces of 6 x 6 Designer Series Paper.

I used Tiding of Christmas DSP for this one, and cut 2 triangle from Evening Evergreen using the Stitched Triangles Dies for the bottom of the bowl inside and out to provide some extra reinforcement.
Bags

Next we moved on to a self closing package that can easily be adjusted to any size you need. This one starts with a piece of Heartwarming Hugs DSP that is 6 1/2 x 9. On the long side, score at 1/2, leaving 6 inches. Dividing that in half, your want each section 3 inches, so score at 3 1/2.
Dividing 3 in half, you get 1 1/2, and that is what you want to score on the short side, across the bottom. Turn your DSP so the bottom is at the top of your Simply Scored board and score 1 1/2 inch blocks from the edge of the paper to the 1 1/2 inch horizontal score line. Since your paper is upside down, I showed the measurements from the right side which will be the left side when it is turned 180 degrees. Got it??
Don’t worry, there is a video to help!

Here are some other self closing boxes in different sizes. The large one is made from a piece of DSP that is 11 1/2 x 12, so it is the biggest box you could make using a single piece of paper and this pattern. The math on the scoring is always the same. Deduct 1/2 inch from the width, then divide in half. That divided in half is the height up from the bottom, and the width of each little fold in section of the bottom. Each tab on the bottom is a square.

Boxes
The next project we made that night was a gift box. You could put all sorts of things in this box, but I was thinking it would be a beautiful way to package up some of your hand made cards (It will hold about 12) to give as a gift.

To make this box . . .
Start with 2 pieces of cardstock cut 8 1/2 x 7
On the long side, score at 6, 8
On the short side, score at 2, 6 1/2
The patterned paper to decorate this box is from the Ever Eden Specialty Designer Series Paper
Cut 2 pieces 5 3/4 x 4 1/4
Cut 2 pieces 1 3/4 x 4 1/4
To make the lid . . .
Cut cardstock 8 1/2 x 4 1/2
Score at 1 1/4 on all 4 sides, but move your cardstock out from the edge of your score board a smidge before you score.
DSP to decorate - 5 3/4 x 1 3/4
Here is the video to help with assembly.

Bonus Project
During a recent Lunch Break we made Christmas Gift Tags. I suggested that I should make a little package for them so you could give tags as a gift. We didn’t get to it during That’s Fancy, but I did promise to add it here.

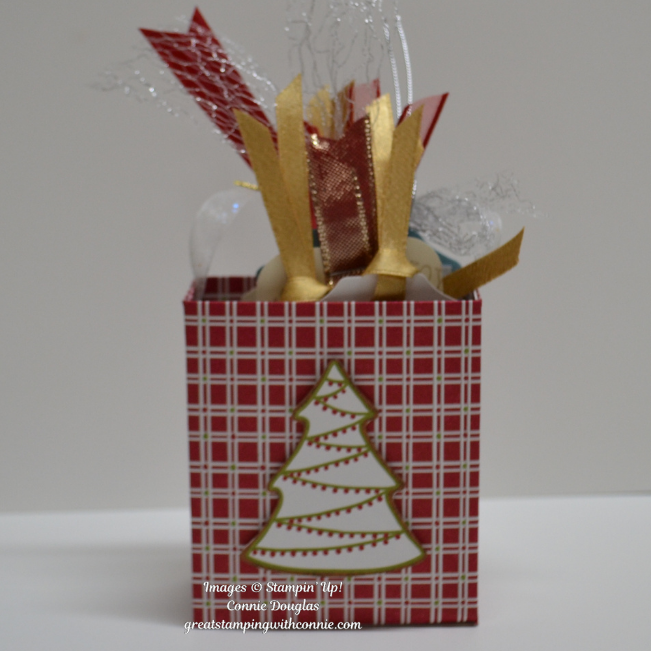
This little bag is made with 2 pieces of 6 x 6 Designer Series Paper. I used the Gingerbread & Peppermint DSP for this bag.
Both pieces are scored the same -
Score at 1 1/2, 4 1/2
Turn and score at 1 1/2, 5
Cut to the score lines to create tabs on one piece, and cut the bottom corner pieces out on the other piece.
The top 1” section is just folded down to reinforce the top to make the bag sturdier.
The pictures also show where to place adhesive.
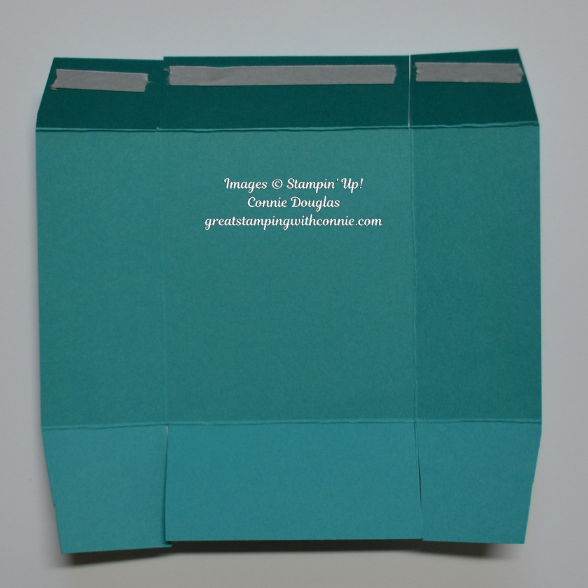
Cut small wedges at each score line. Top folds down for extra strength. This picture shows what will be the inside of the bag.

Turn piece over and add Tear N Tape to tabs. This view is what will be the outside of the bag. Fold tabs in and adhere to create one side of the bag.

This is the second piece. Top pieces fold down for reinforcement. Sides and bottom will go on the outside of the other piece to create the bag.
Punch small holes on either side of the bag. Thread with ribbon and attach with a brad. Decorate front of bag as desired.