One Month Ago . . .
Last month at this time (as I’m writing this post) I was getting ready for my wedding. Since then I have been to Puerto Plata in the Dominican Republic for my fabulous honeymoon, skied several times including a trip to Quebec, and started to settle into married life!
As we celebrate our one month anniversary with Date Night, I wanted to make a special card for MSH (My Sweet Husband).

This card fits for many projects I have on the go right now, and I love this sentiment for today’s special occasion. Before I met MSH I was doing well, loving life, enjoying time with my friends, and meeting new people all the time through my stamping business. Along came MSH, and I still have all those things, but so much more! He is kind and generous, and has helped me in ways I never could have imagined. He seems to know what I need before I even do. I may not have know how much I needed him before I met him, so this sentiment is exactly right for us.
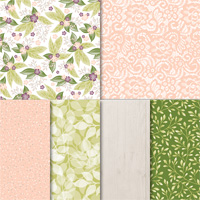
To make this card I used the Floral Romance Suite. One of the business groups I belong to as a Stampin’ Up! Demonstrator has a challenge on right now to make cards using one of the suites from the Occasions catalogue, and I chose this suite. We are to try to use all the stamps in the set on the various cards. I have to say, it was a lot of fun creating these cards. As I started working with the stamp set and coordinating Framelit Dies more and more card ideas kept popping into my head. I didn’t want to stop creating!
I decided to stamp and cut a bunch of leaves from the framelits and layer them onto a piece of the lovely Floral Ramance Specialty DSP. Once I had a bunch of them cut, I laid them out in several ways on my DSP to see what I liked best. This card shows where they ended up!

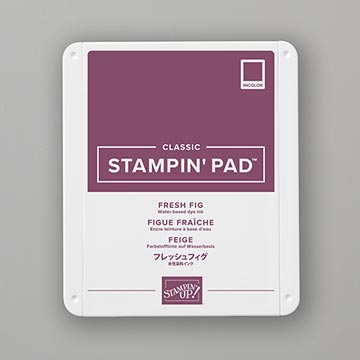
I mounted my DSP on a thin border of Mossy Meadow card stock, then a wider border of Fresh Fig, and a Pear Pizzazz card base. These are colours from the DSP so coordinating everything was easy. Once I had my leaves in place they seemed to need a little something more, so I stamped and cut some of the little flowers from the stamp set. This was quick to do, as the framelits give you four of the flower dies to cut all at the same time, making cutting quick and easy. I added them at the base of my leaves and really like the little accent they provide.
Now here is the best part. To prepare cards to share in my business group, I made a total of NINE cards, including one for Christmas! I have put all the instructions for these cards along with lots of pictures into a tutorial that I would love to give you for FREE! You can use this tutorial to create these cards, or as inspiration for your own card making. If you don’t have some of the colours or supplies I used, you can substitute whatever you like, the ideas in these cards will get you started.

Some of the cards are #simplestamping, some include colouring, some are for more advanced stampers, some use the Big Shot or Stamparatus, but they are all fun to make, and come with complete instructions.
How can you get this free tutorial? Easy! Just place any order of $60 or more through my online store. You can click on any of the product images below to go directly there. Use the Host Code at checkout - BGYC2FS9 and I will send you the full PDF tutorial absolutely free. You can order anything you like, but this is a great time to get the Floral Romance Suite and save 10% on the stamp set and coordinating framelits. Just remember to use the Host Code - BGYC2FS9 to get your free tutorial, and don’t forget to include your FREE Sale-a-Bration selection(s)!
If your order is over $200, you will qualify for additional free products, so don’t use the Host Code. I will still send you the tutorial.
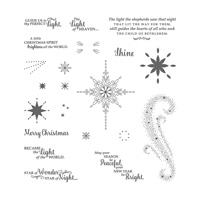
These are the supplies I used for this card.


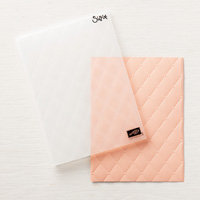
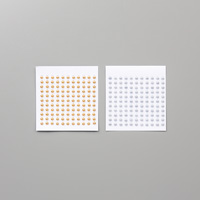
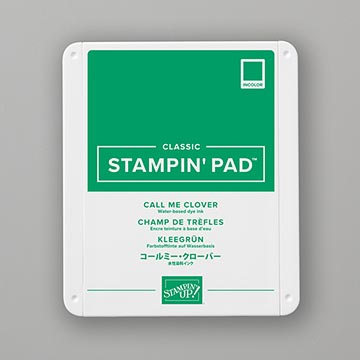
These are other supplies I used for the other eight cards. It is a big list, but remember, you can substitute products you already have if you wish!